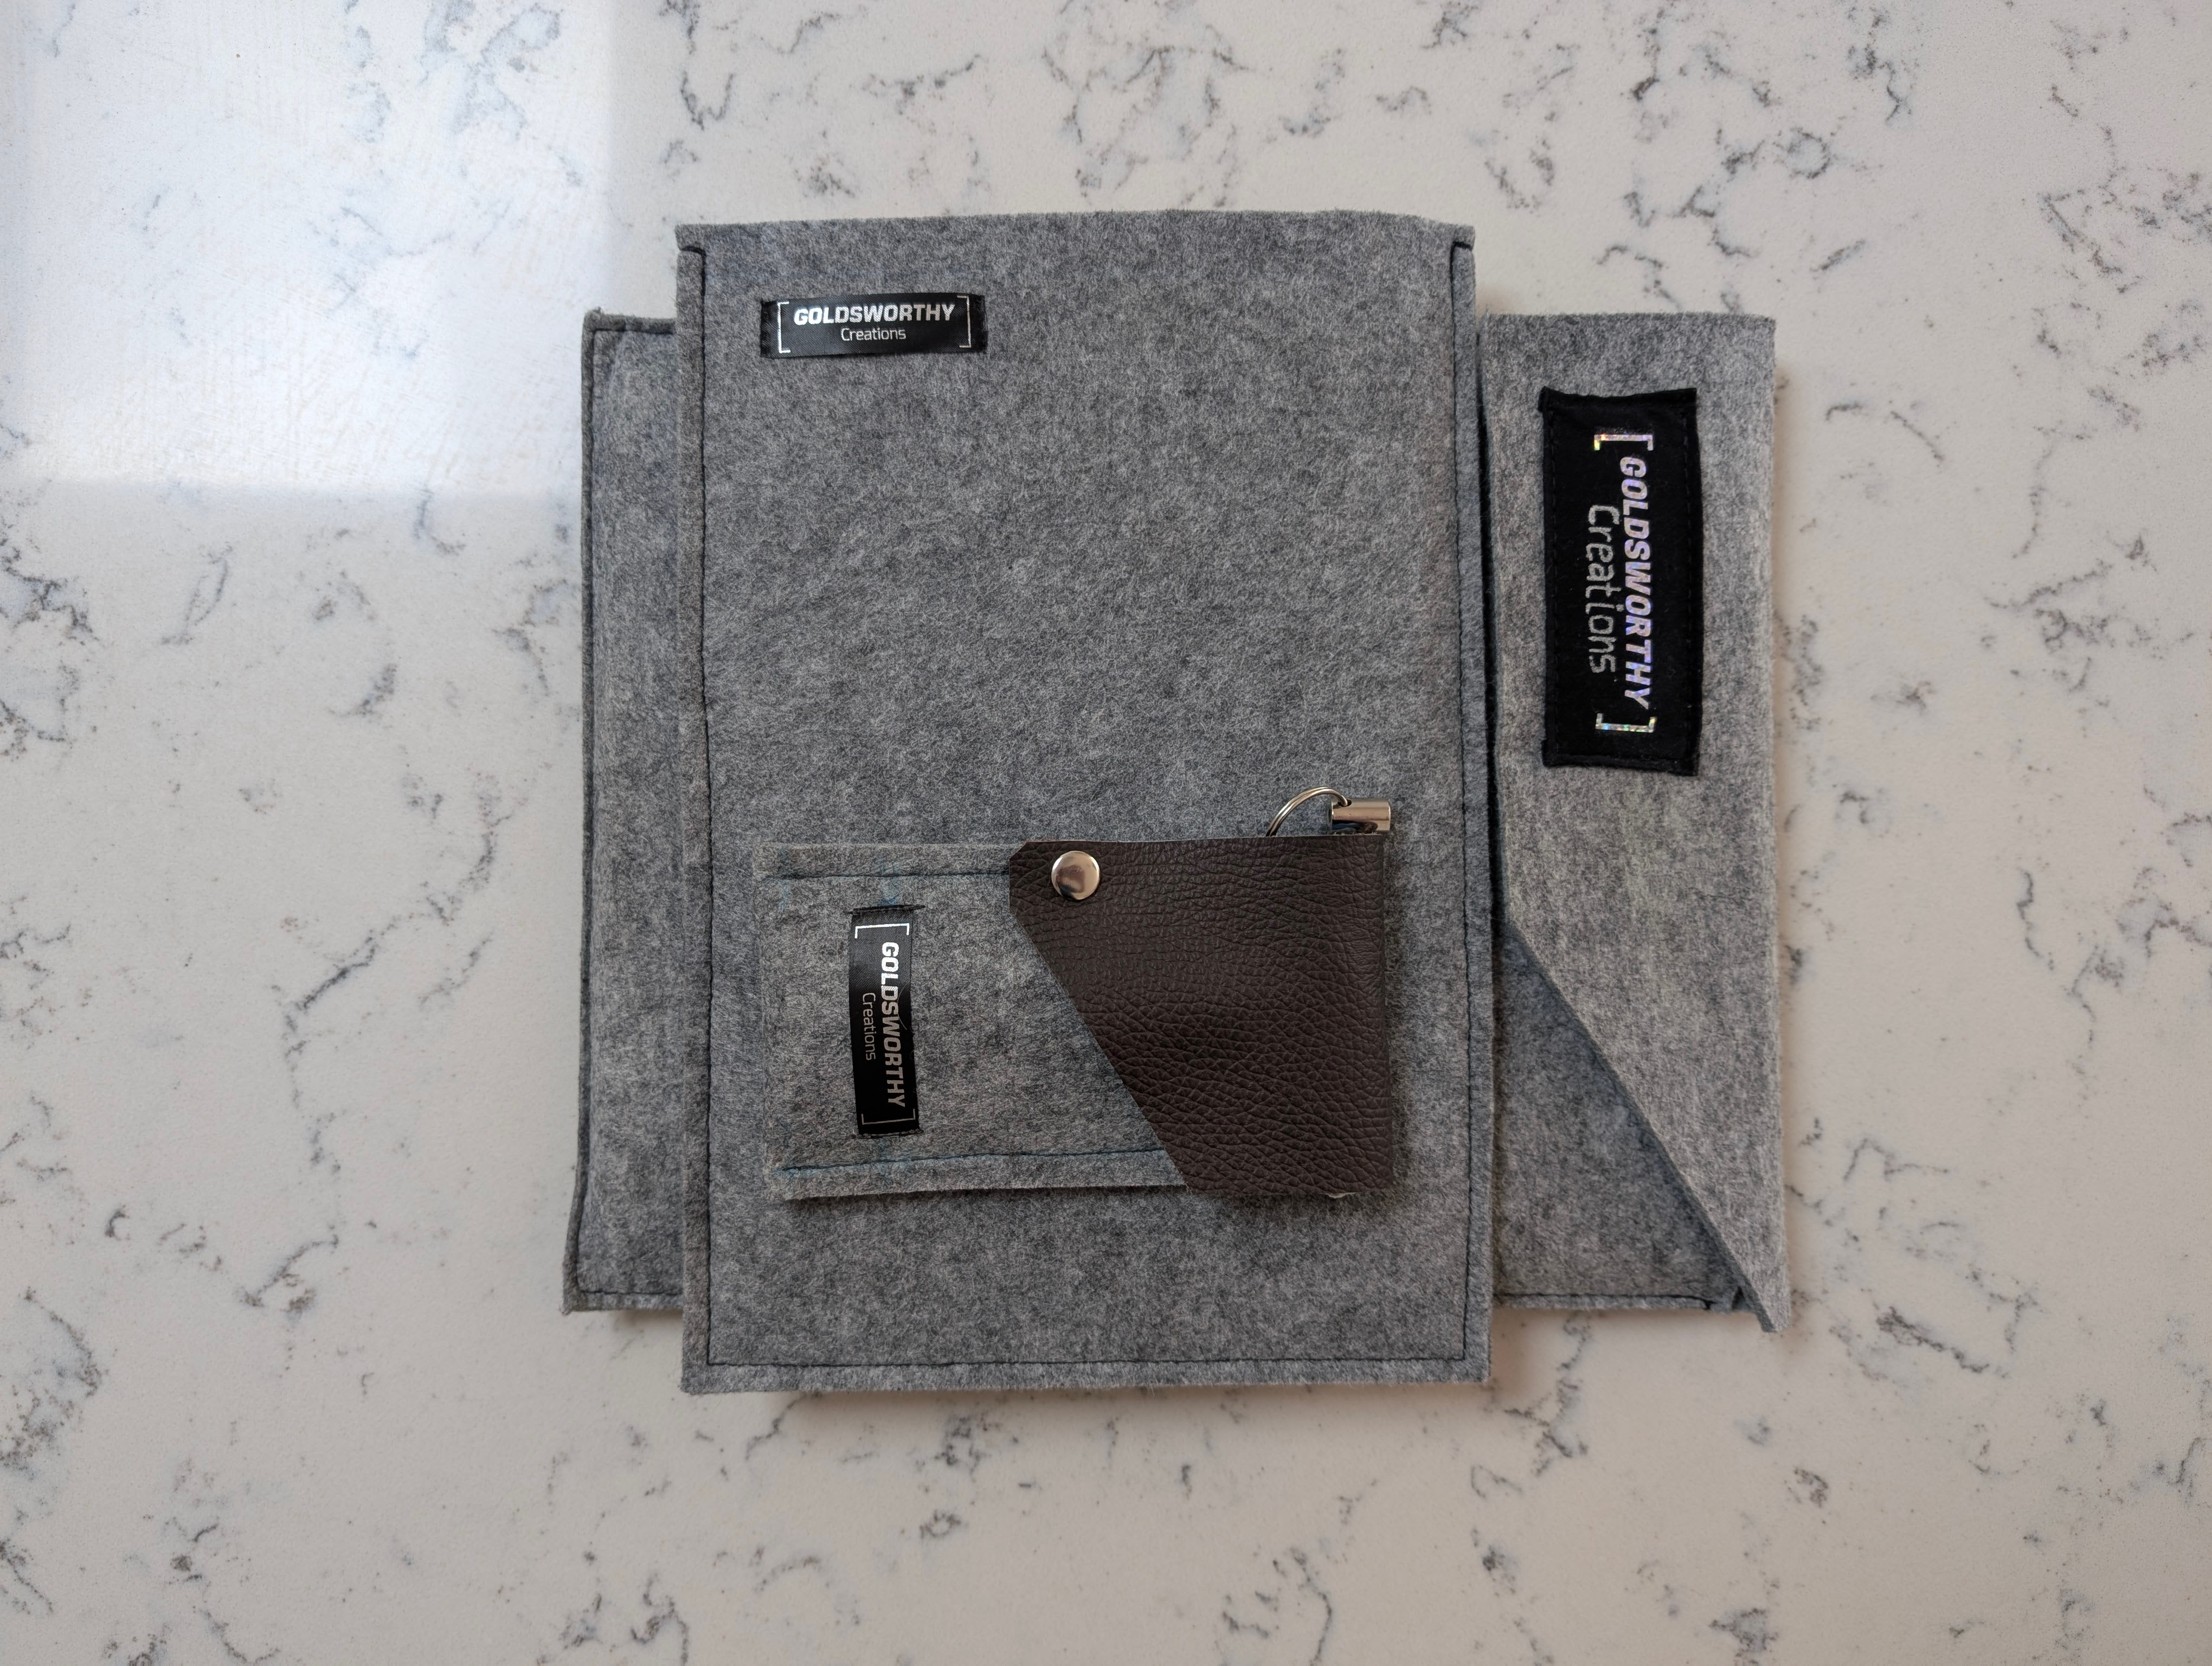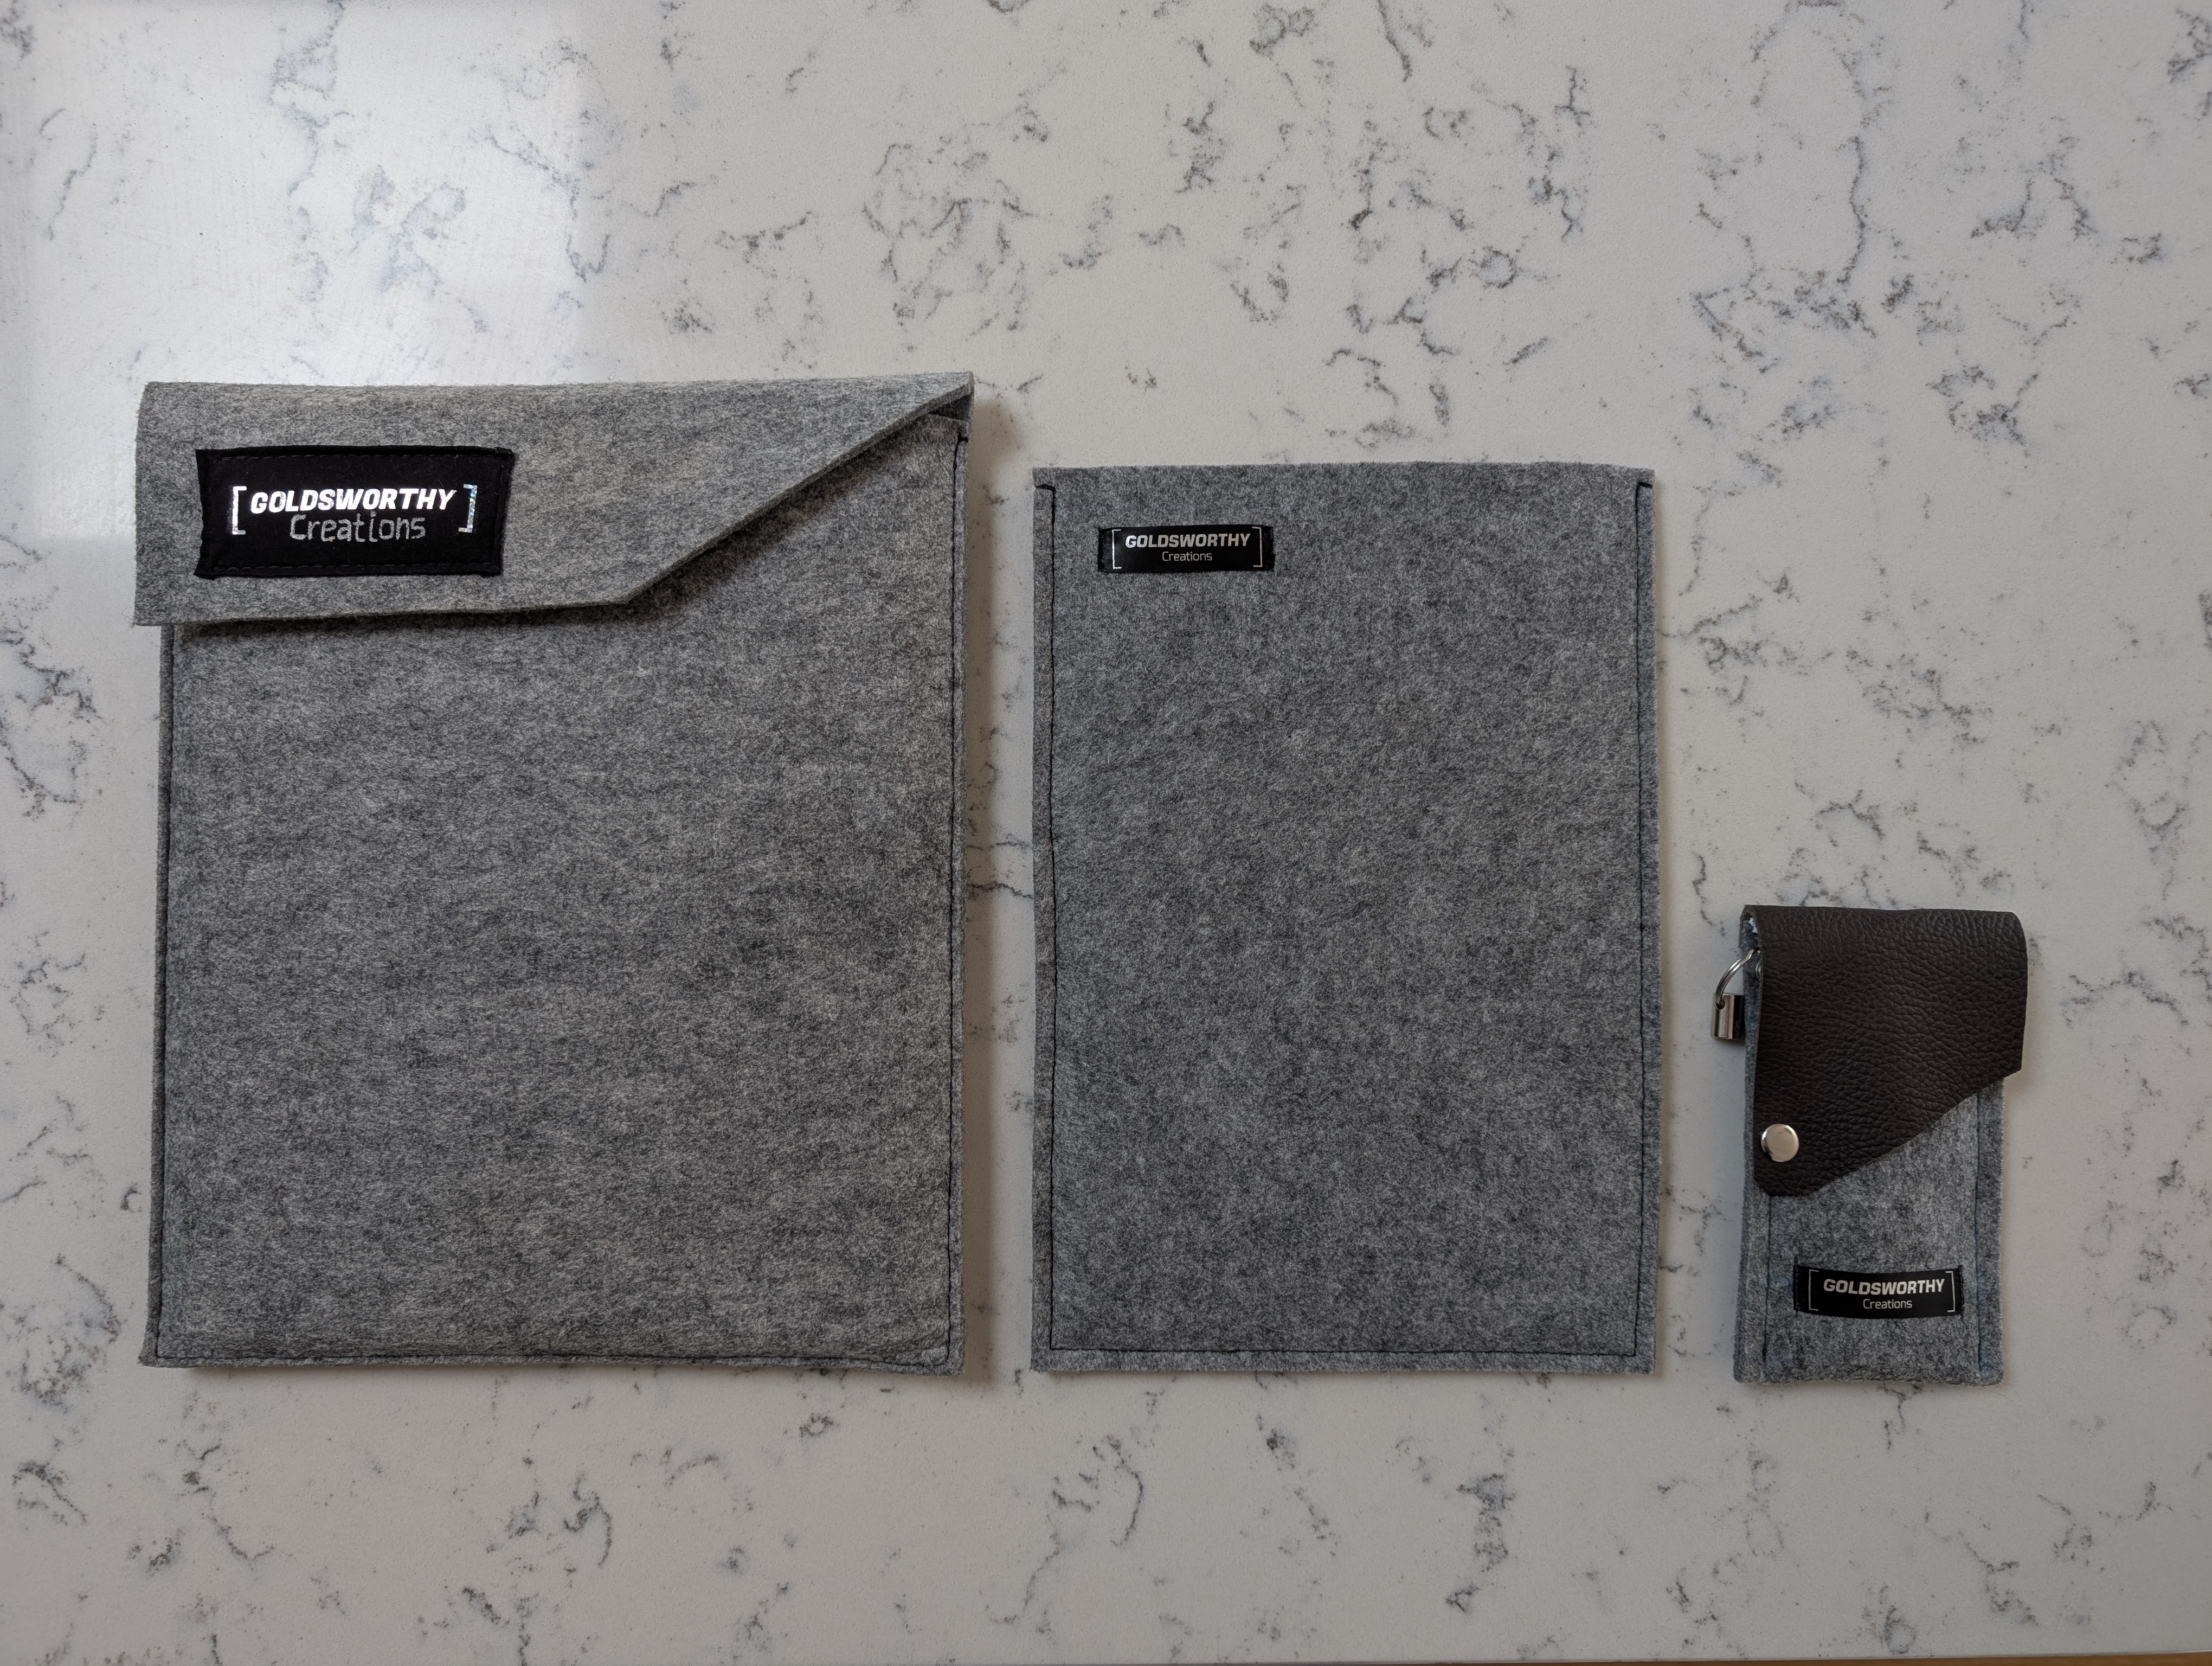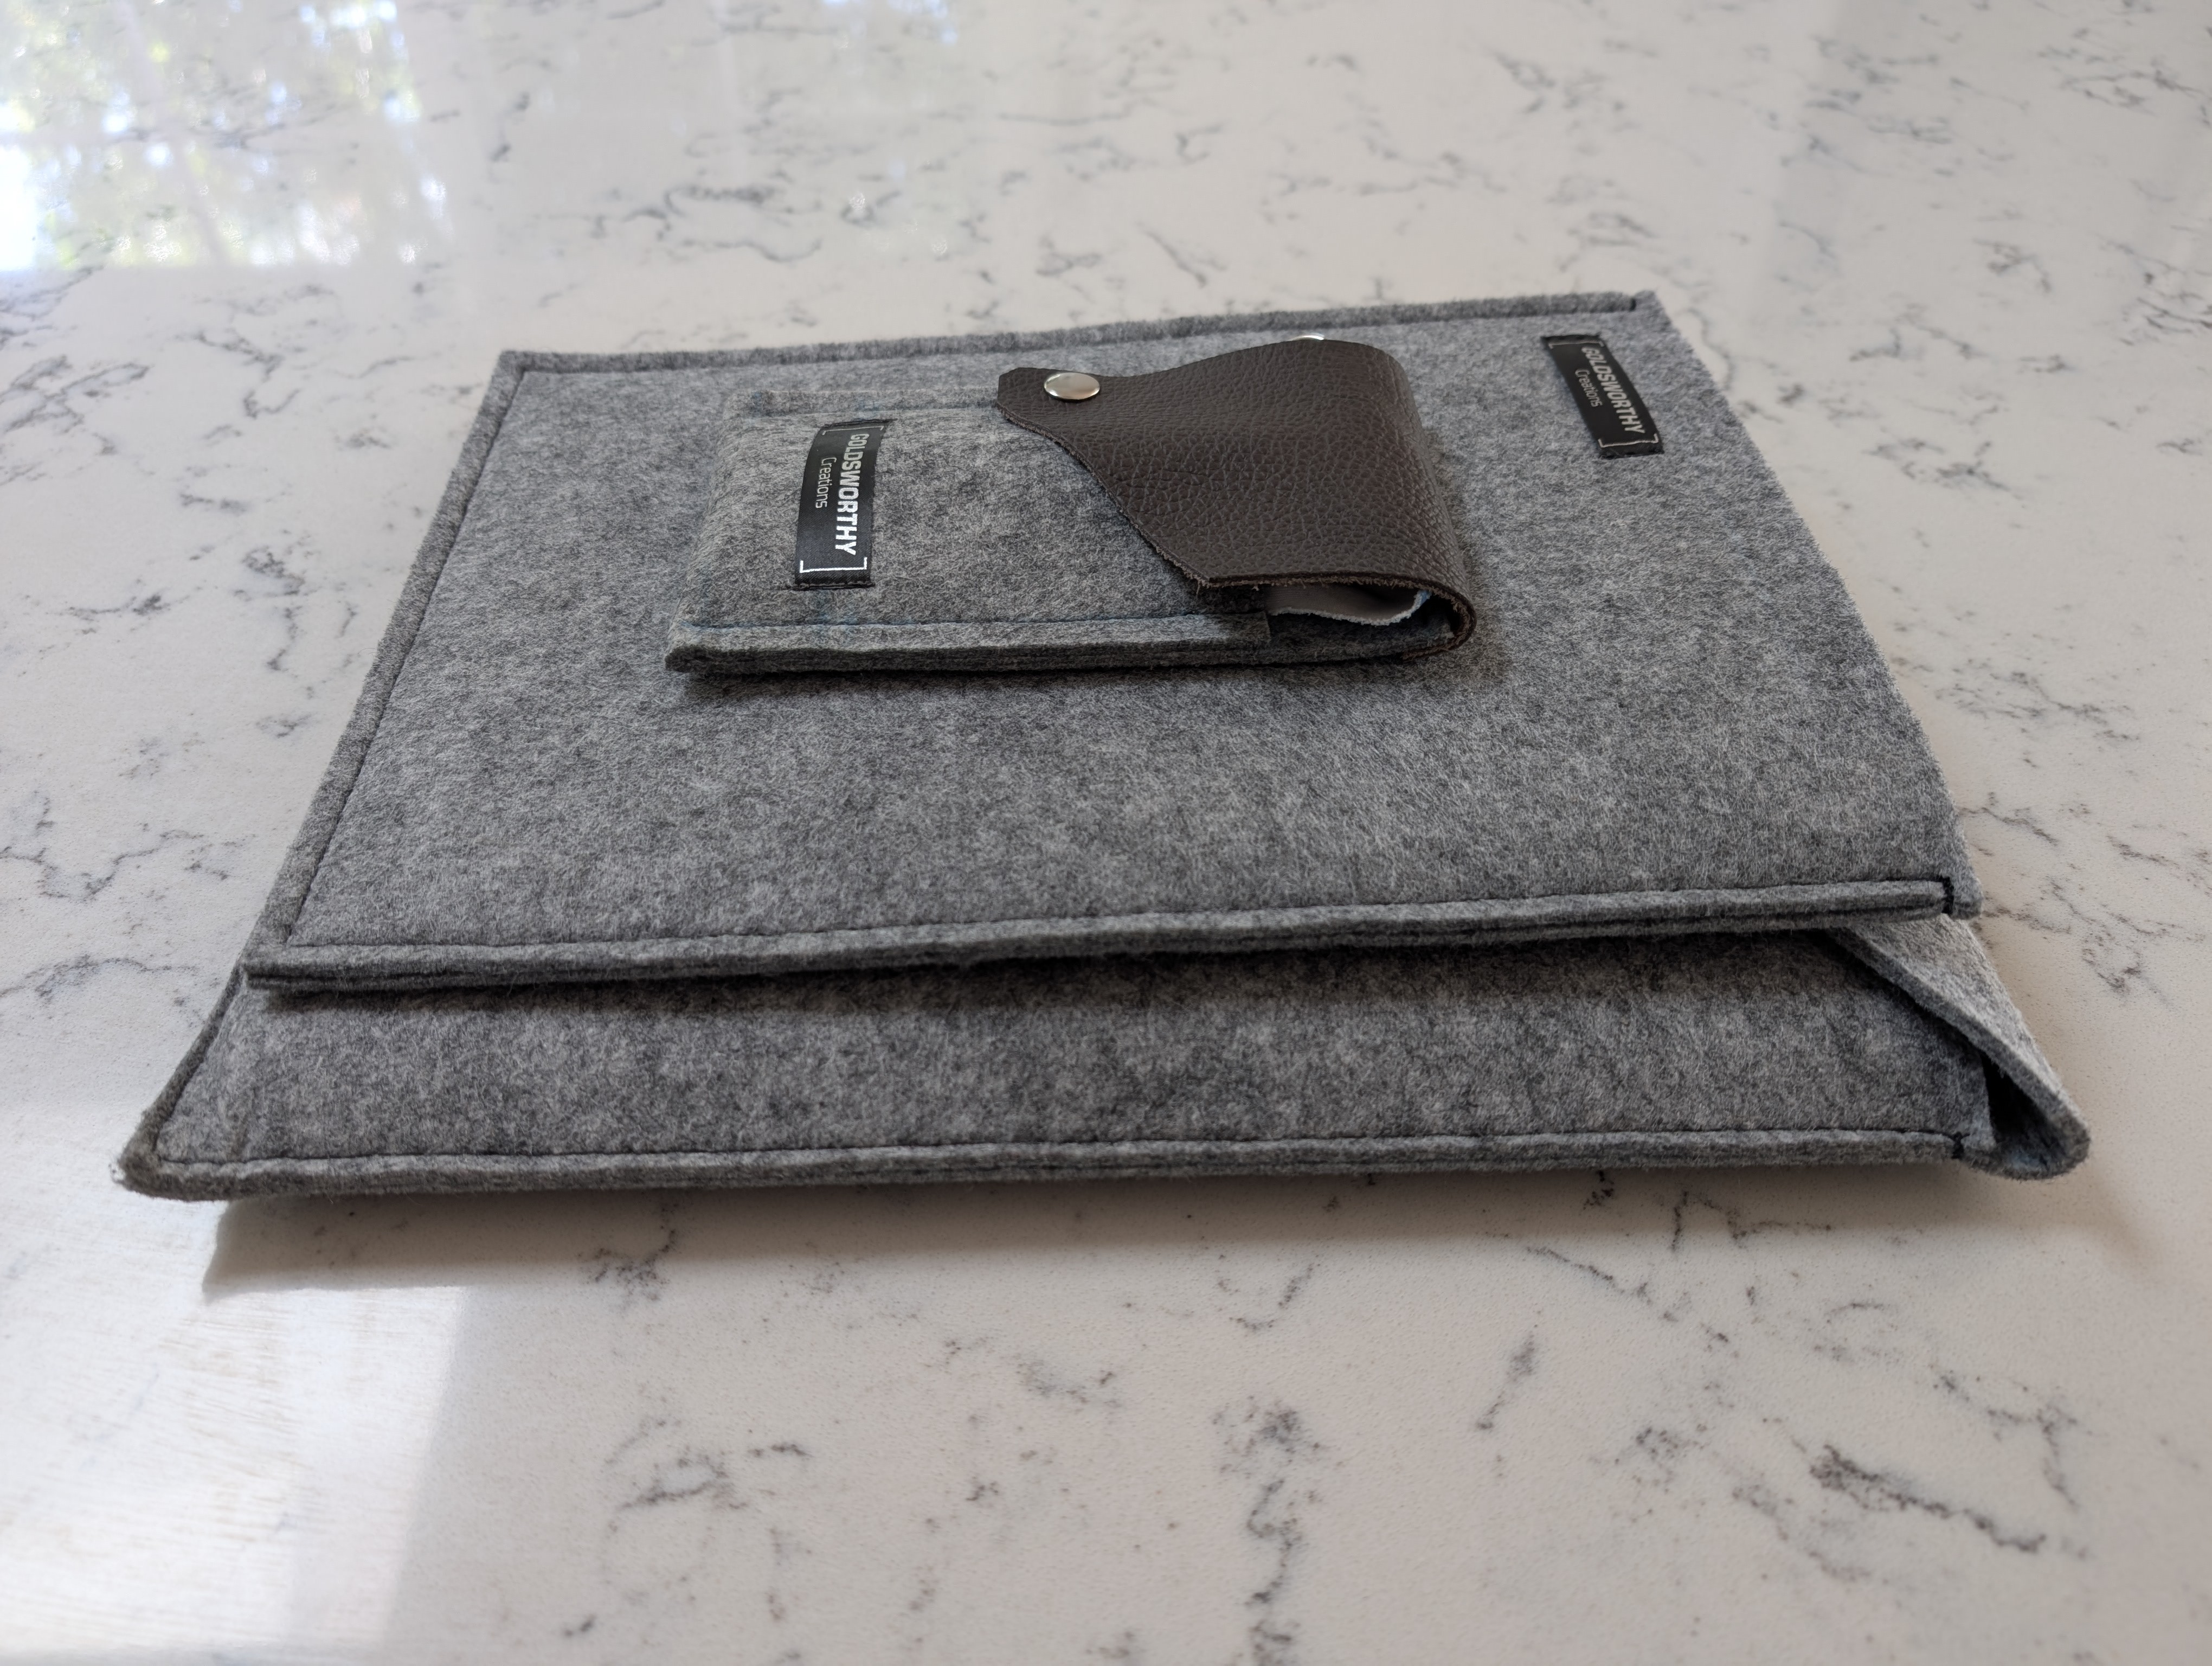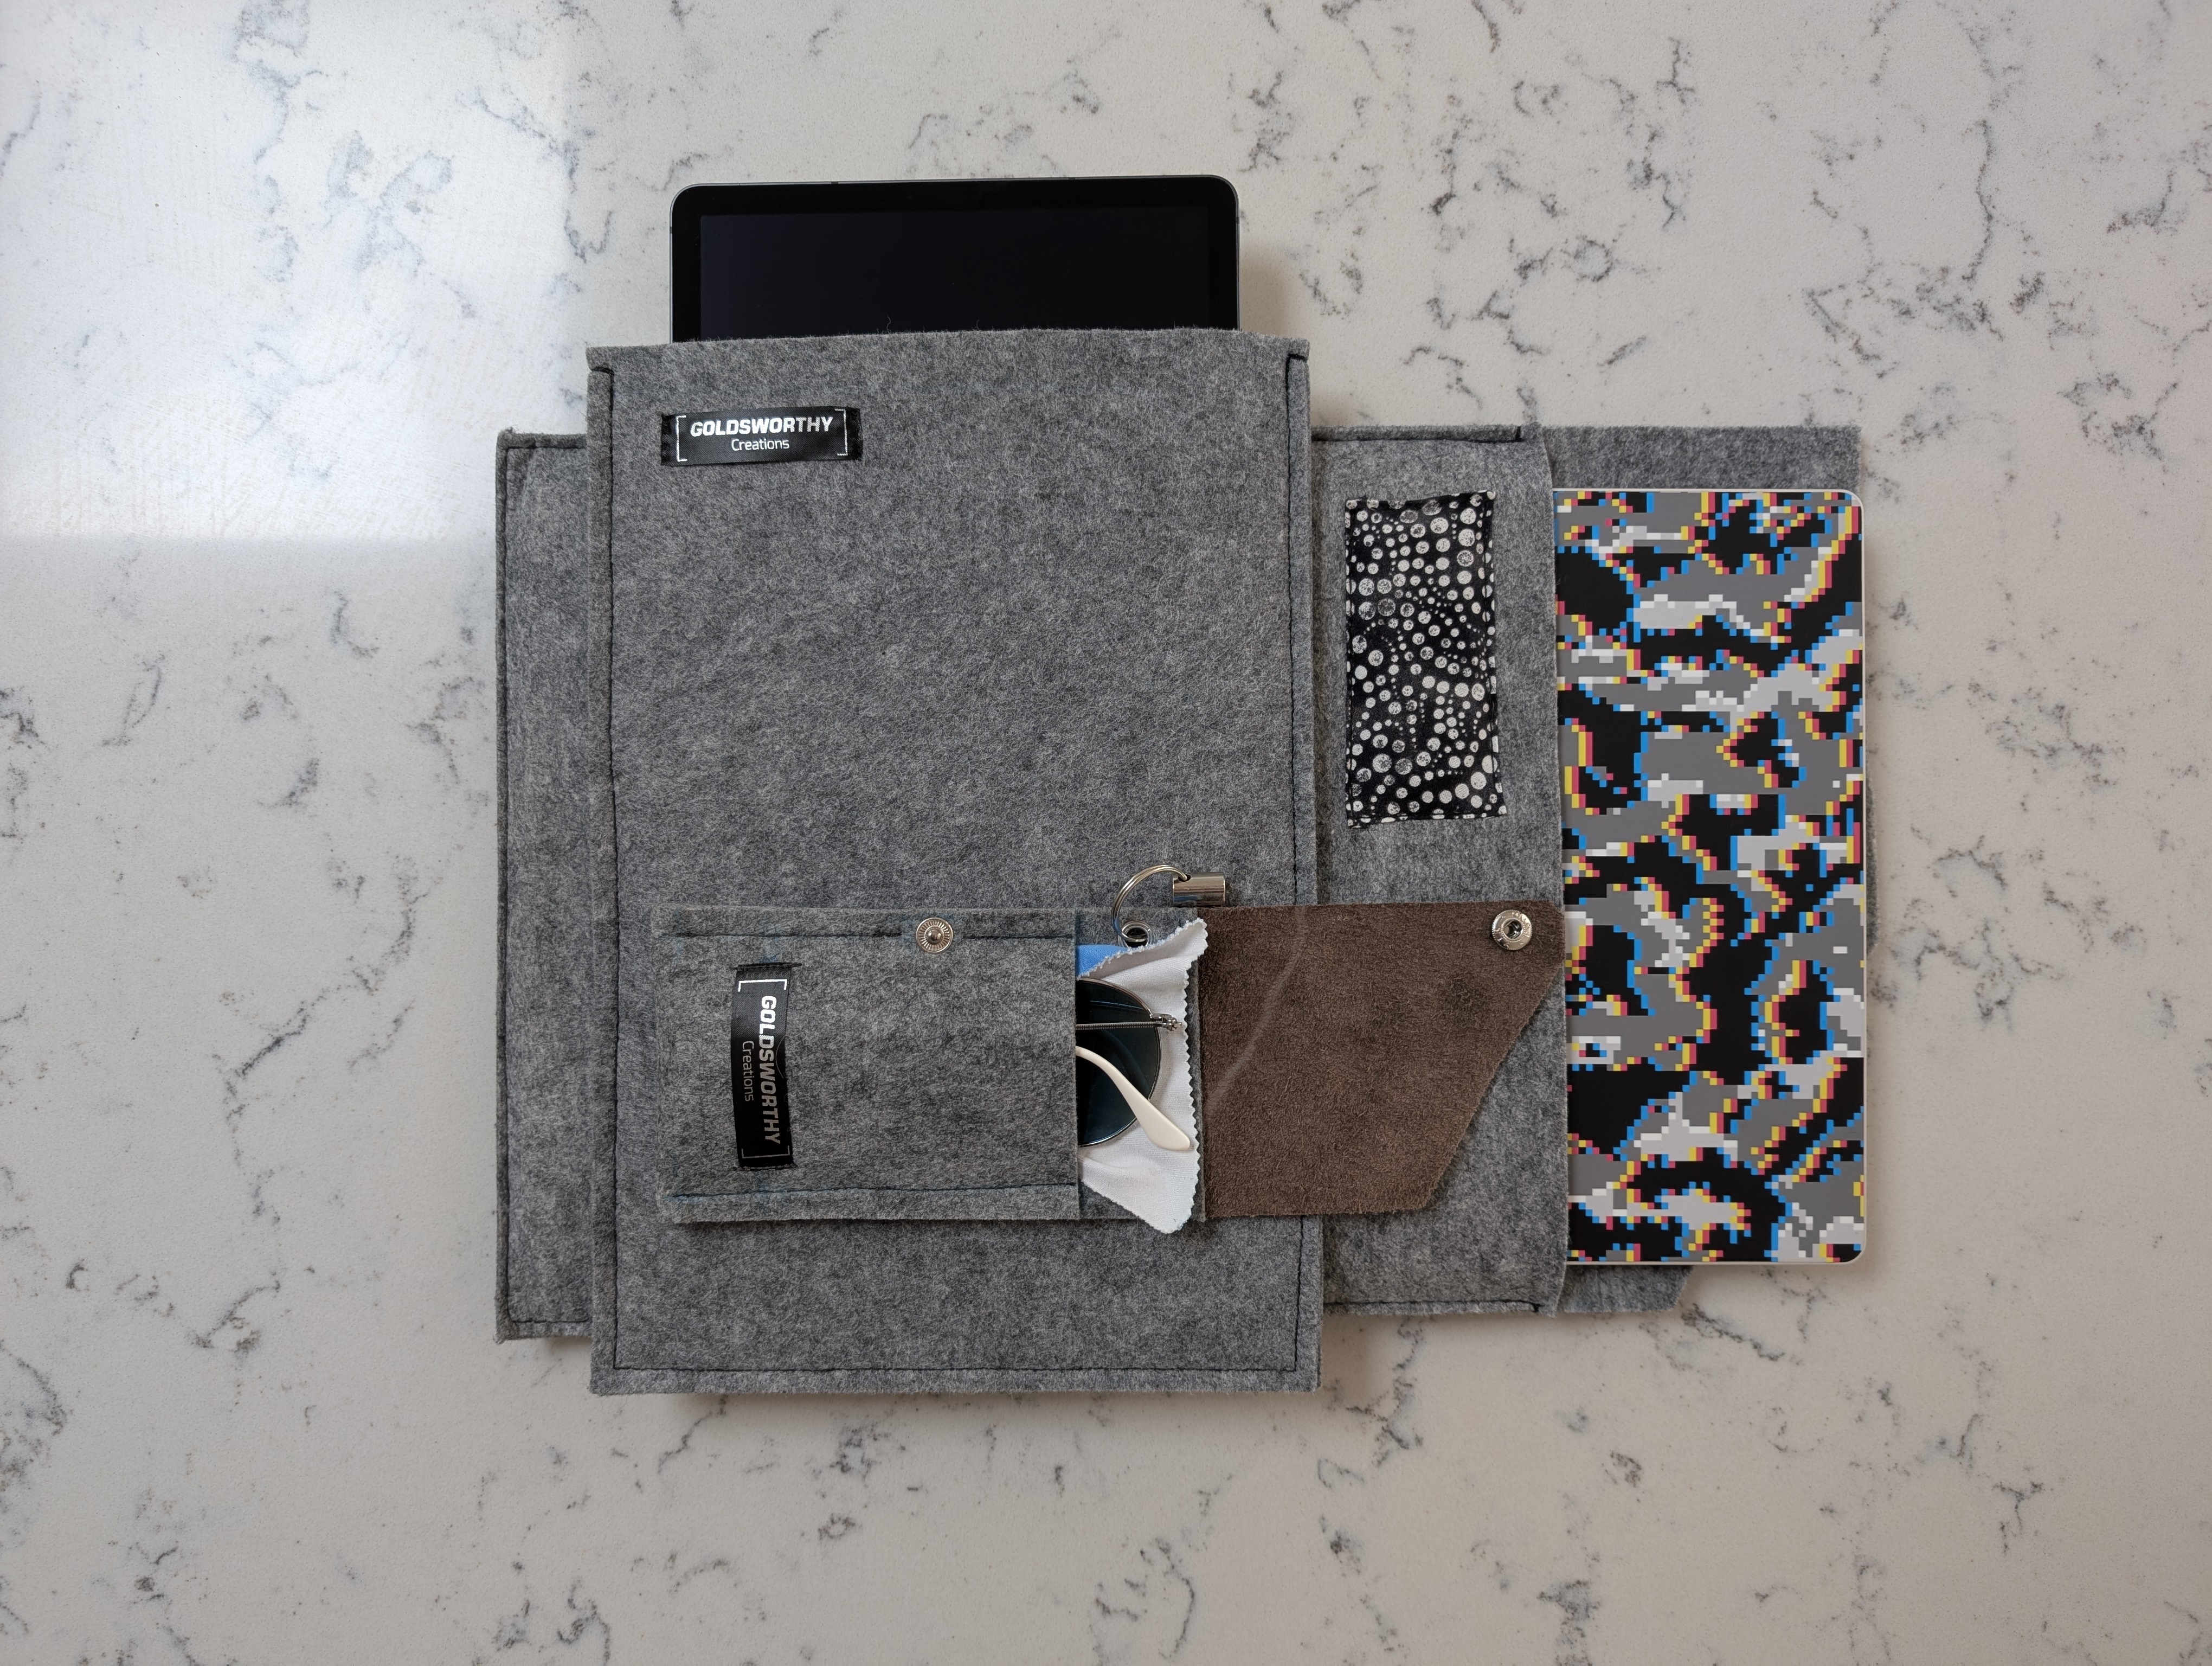
A 3-piece collection of sleeves for holding a Laptop, a Tablet, and a pair of sunglasses.
It is constructed by placing 2 sheets of felt together and sewing around 3 edges (with some embellishments).
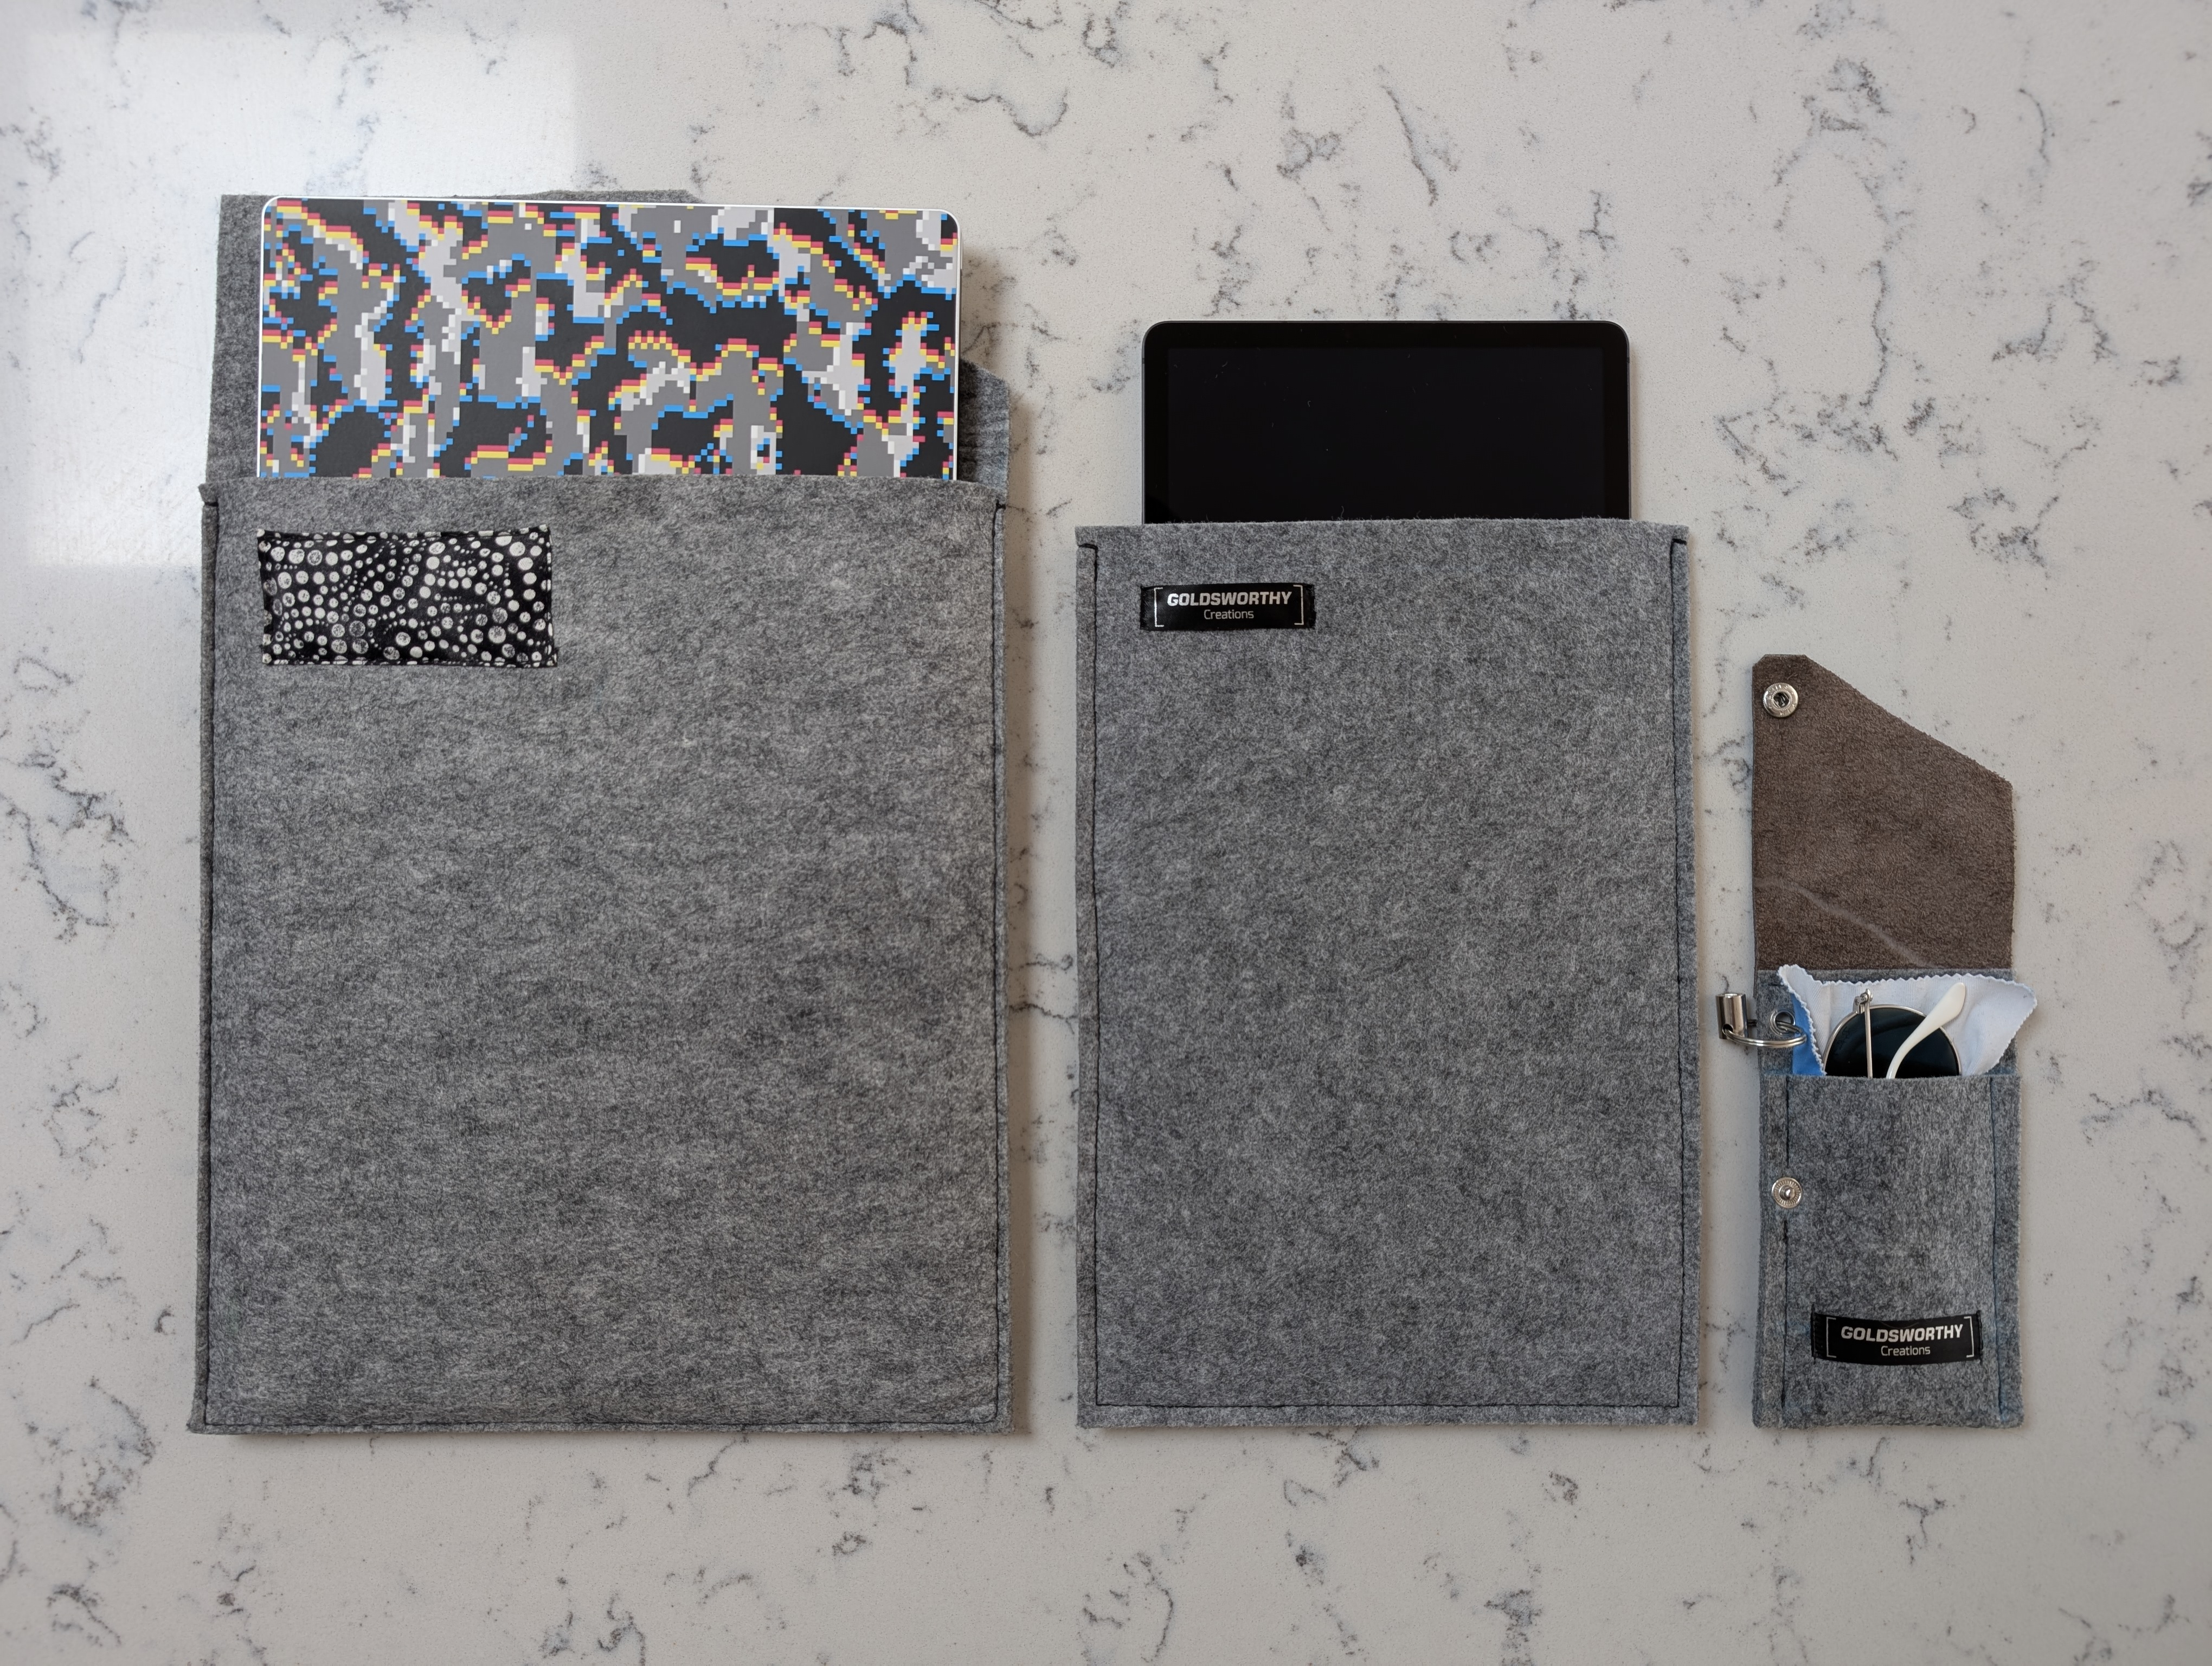
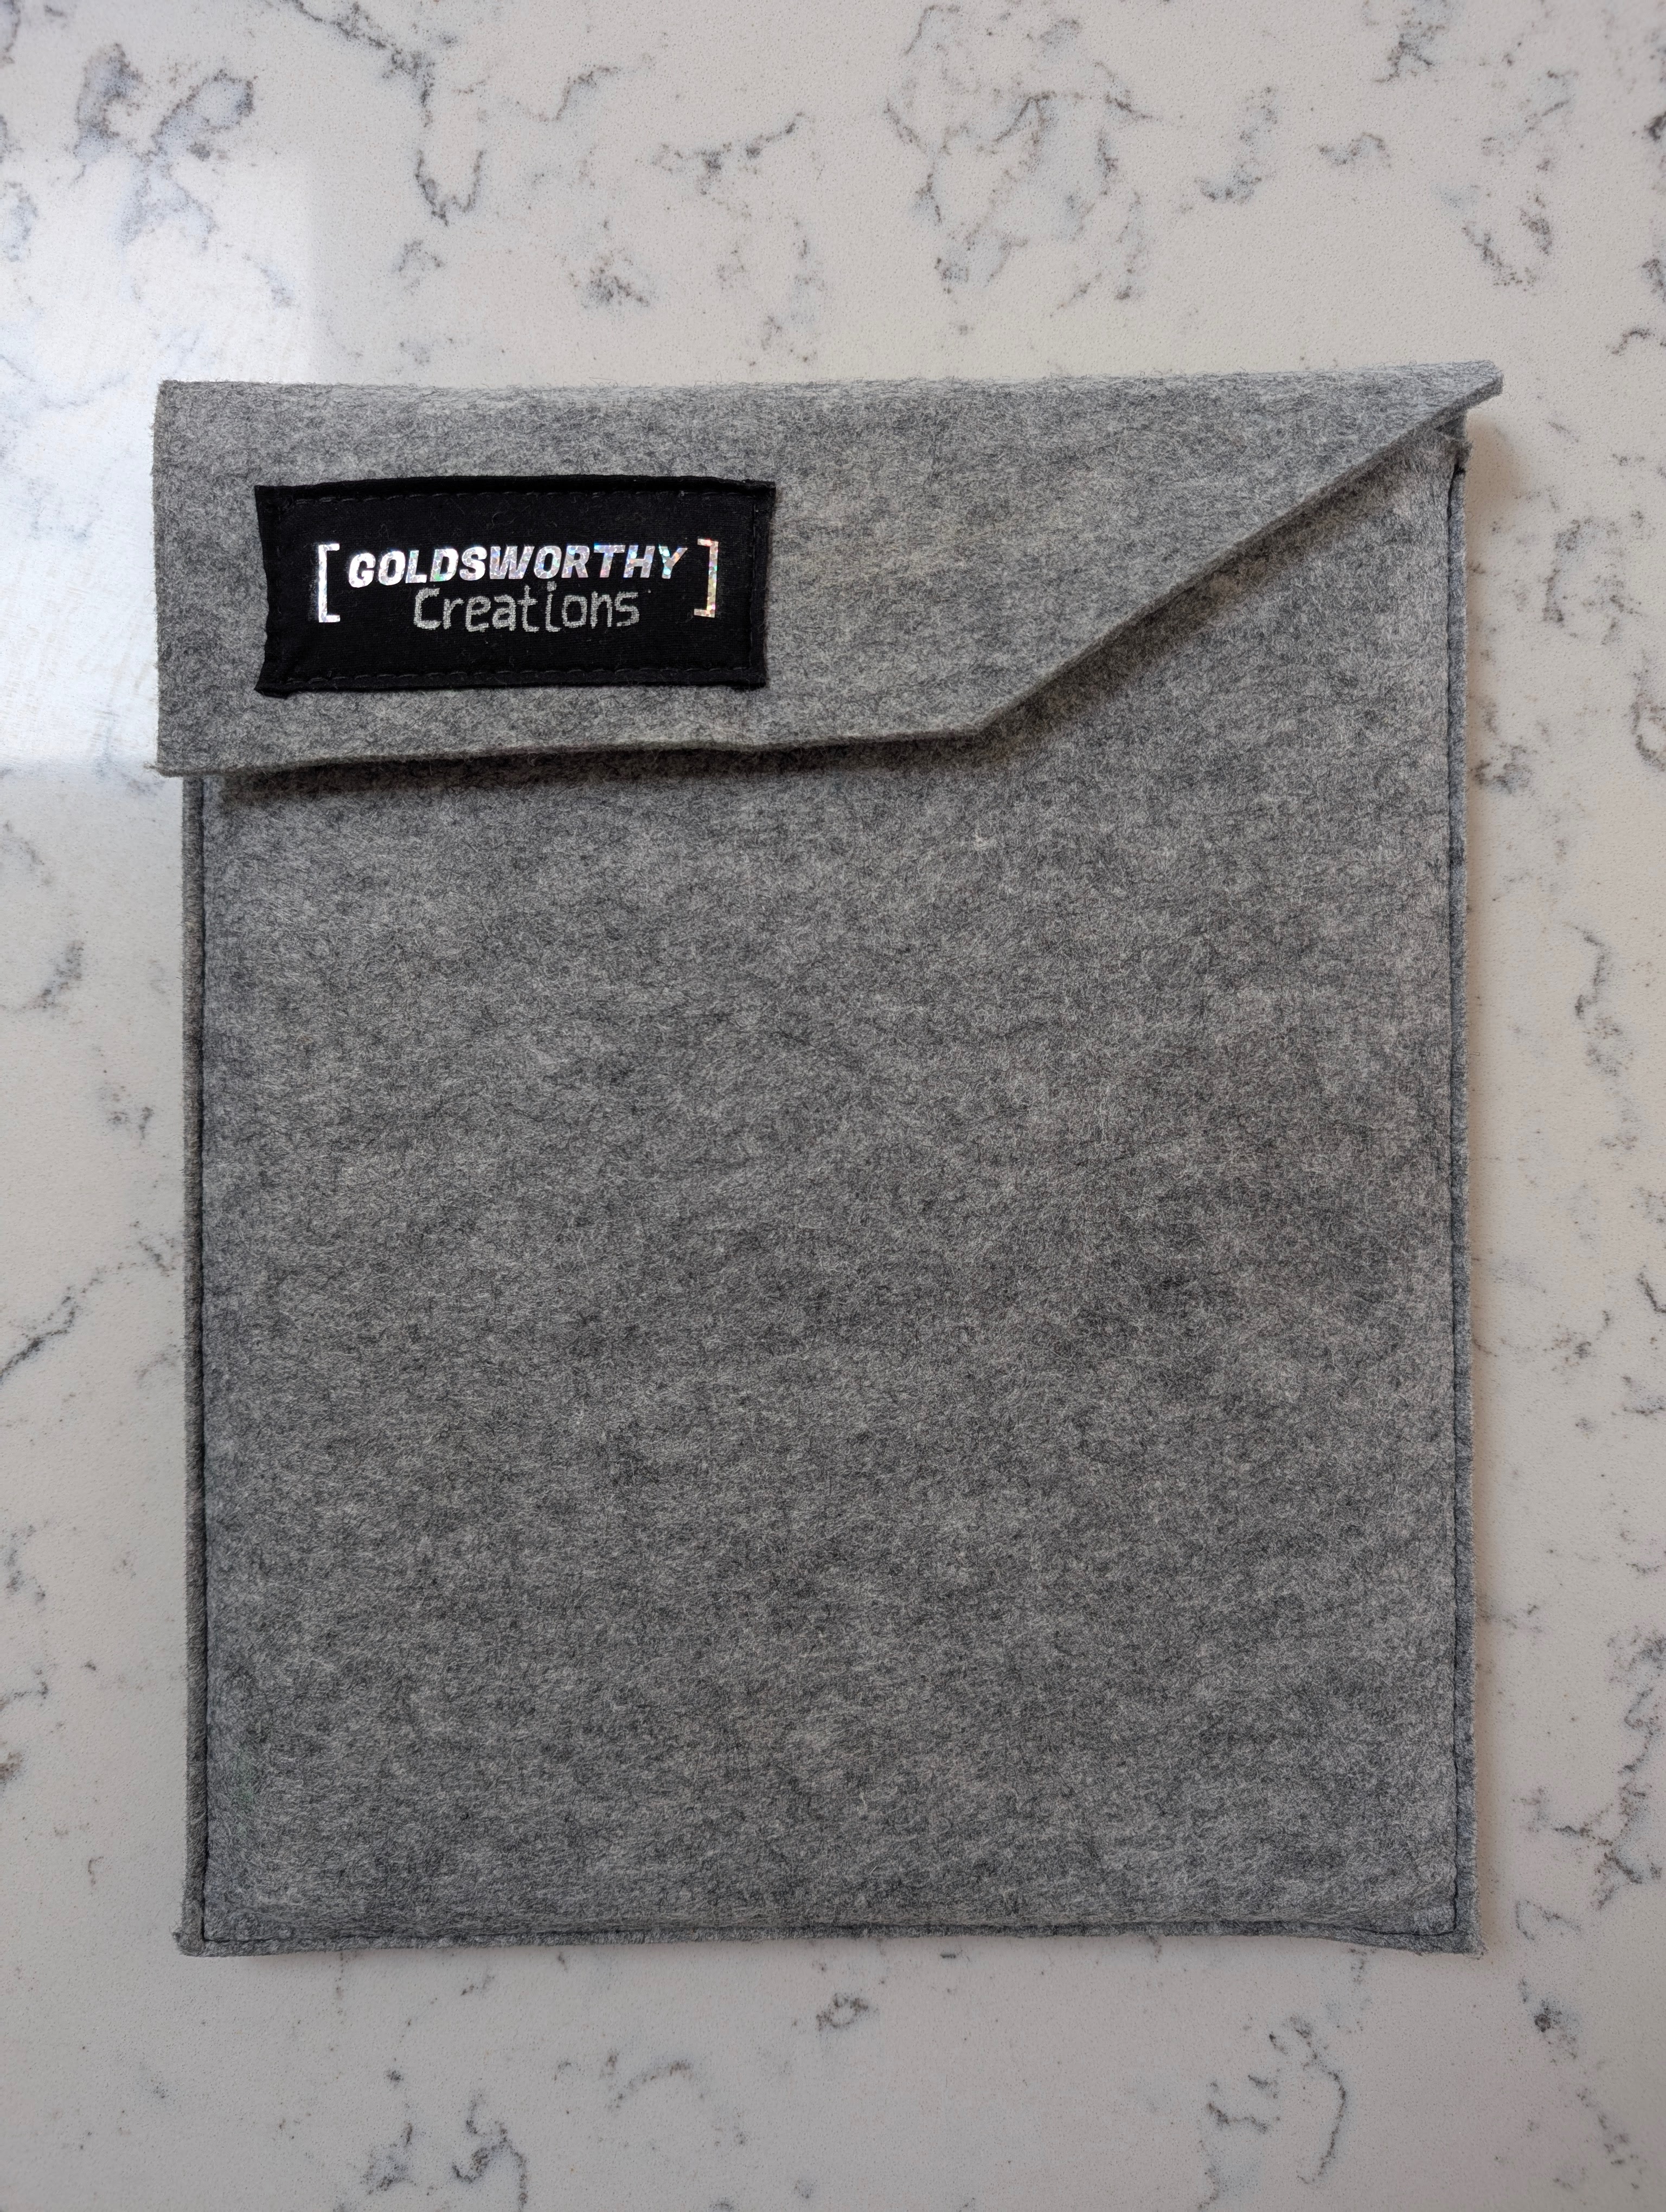
Laptop Sleeve
The first piece to be created, this sleeve was created due to a need to transport my laptop in situations where I might not have a dedicated pocket as might be found on some backpacks.
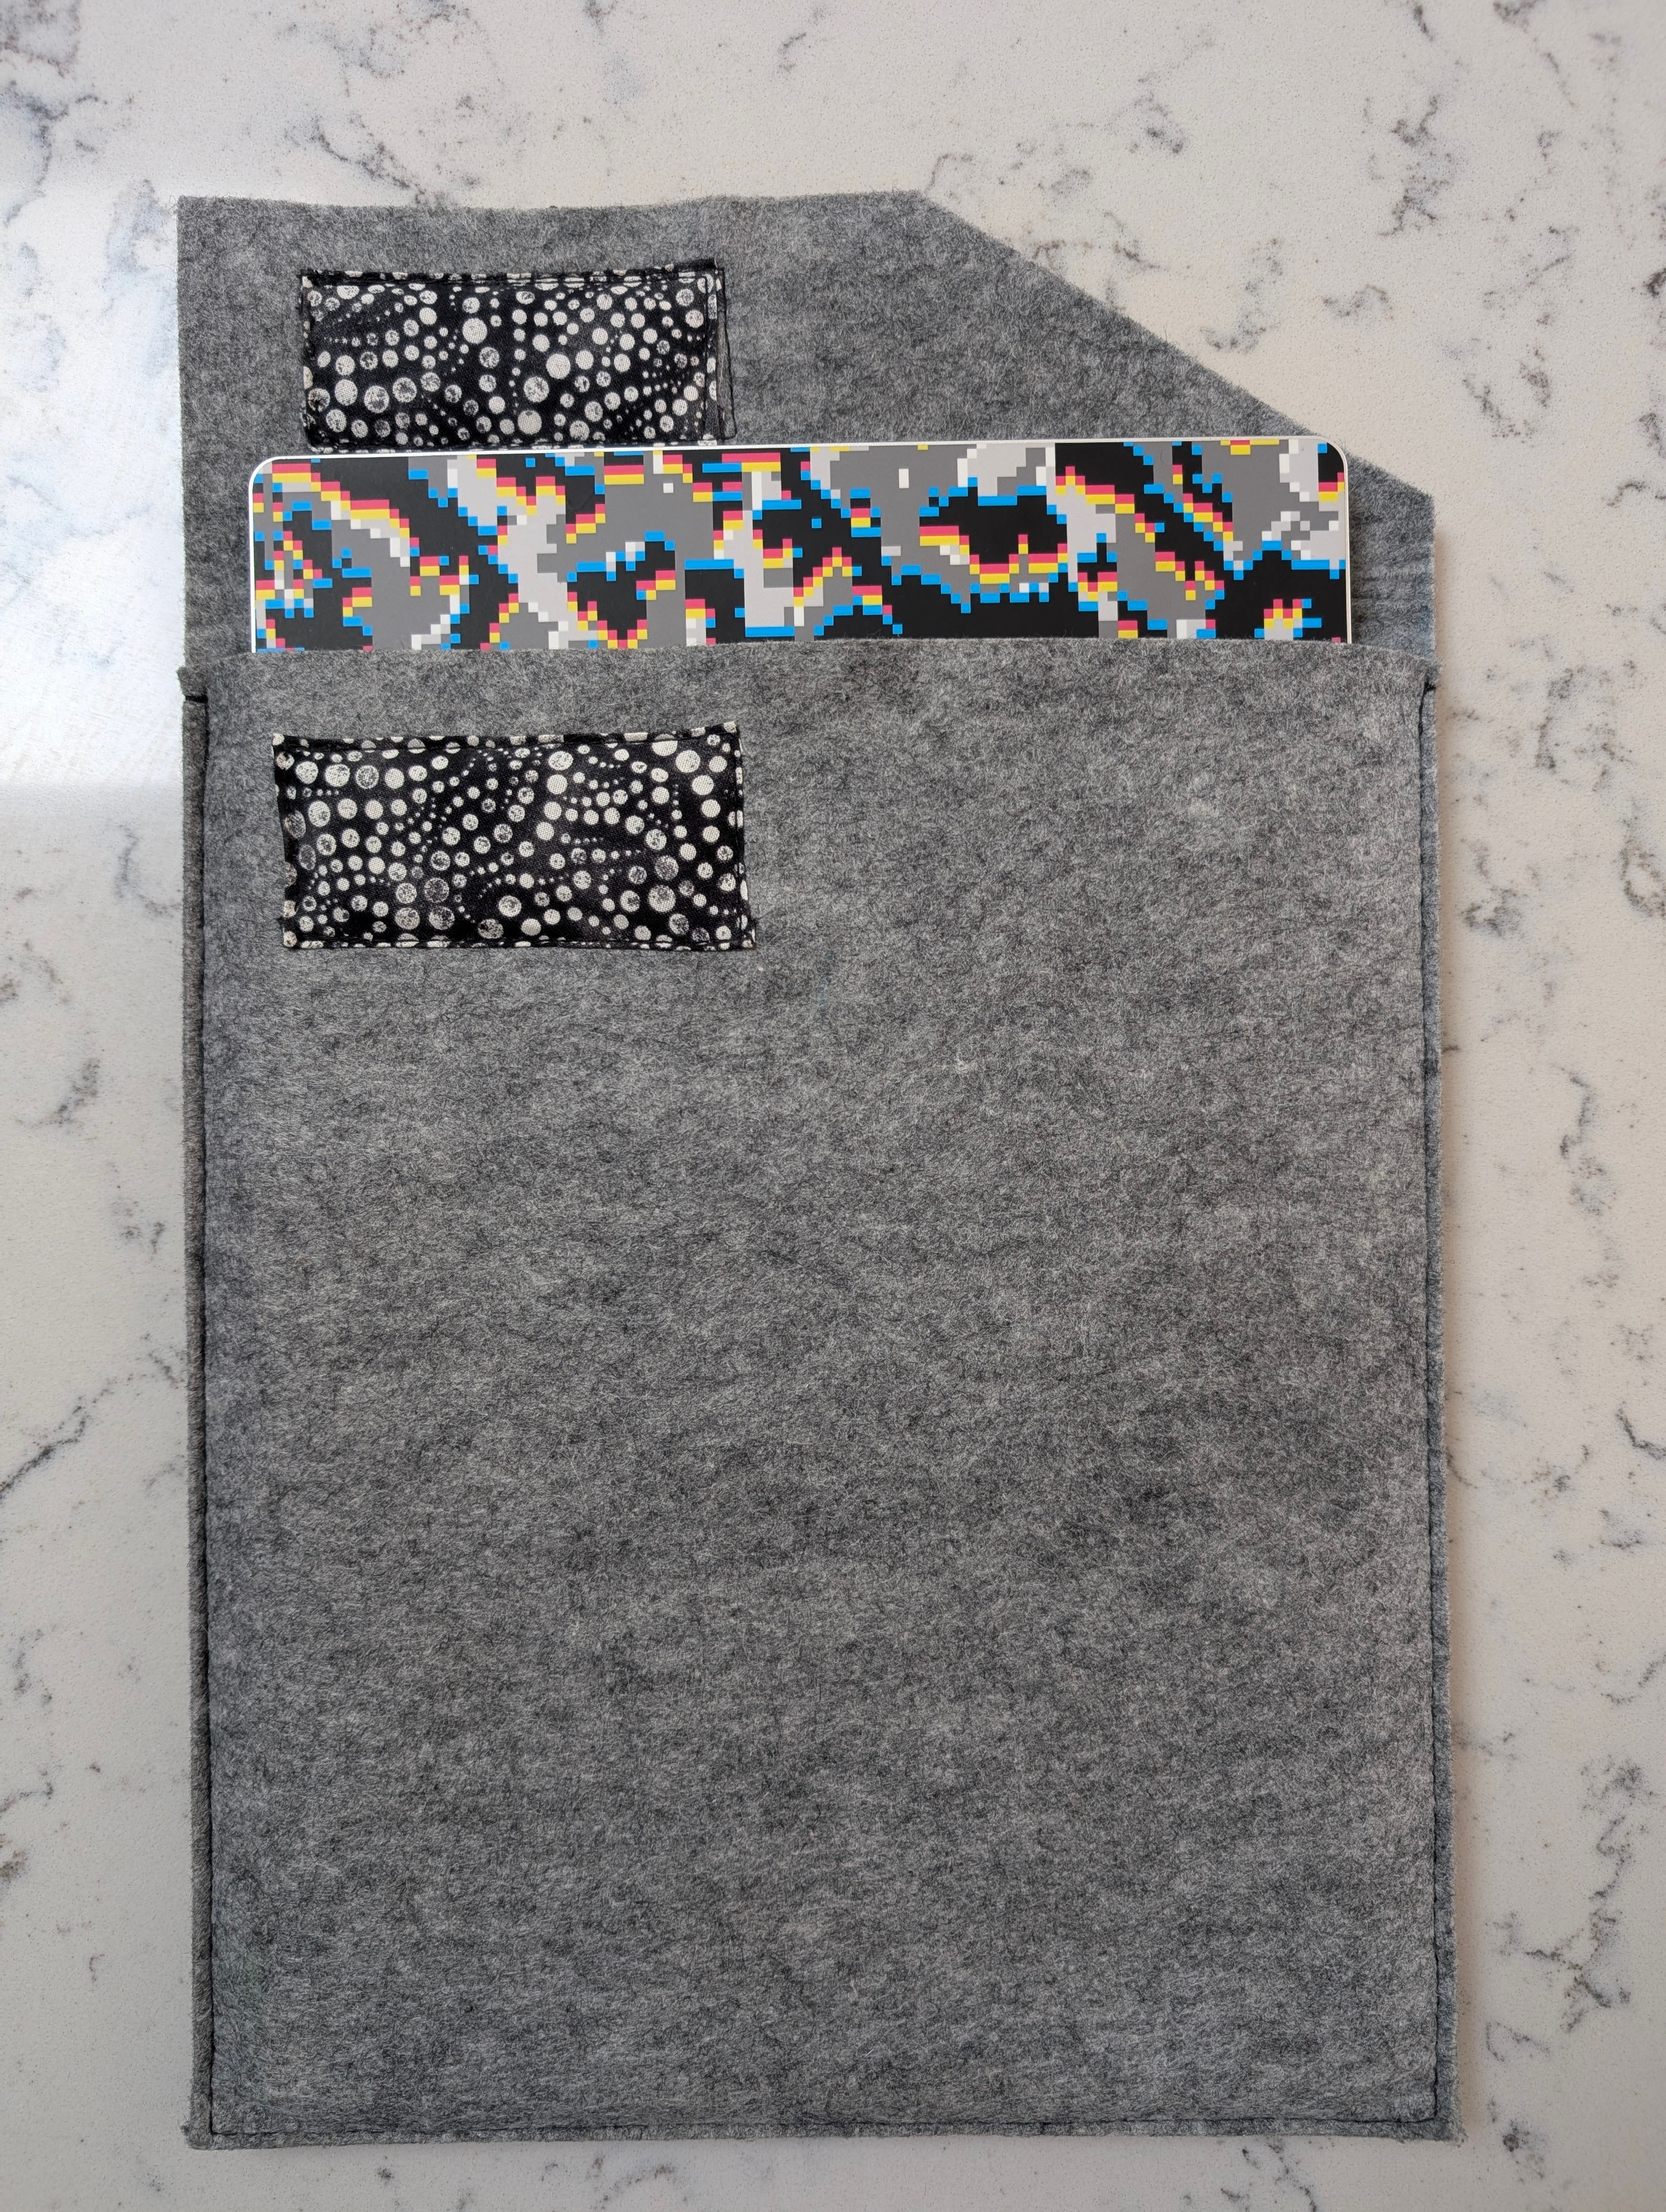
The flap is formed by keeping excess length of felt and folding it back, then using a clothes iron to steam it into shape. Pockets are sewn onto both the inside of the flap and the internal front of the sleeve. 3 magnets of alternating polarity are placed inside to hold the flap closed. Finally, the stitching of the pocket on the inside of the flap is covered up with an additional panel bearing the Goldsworthy Creations logo.
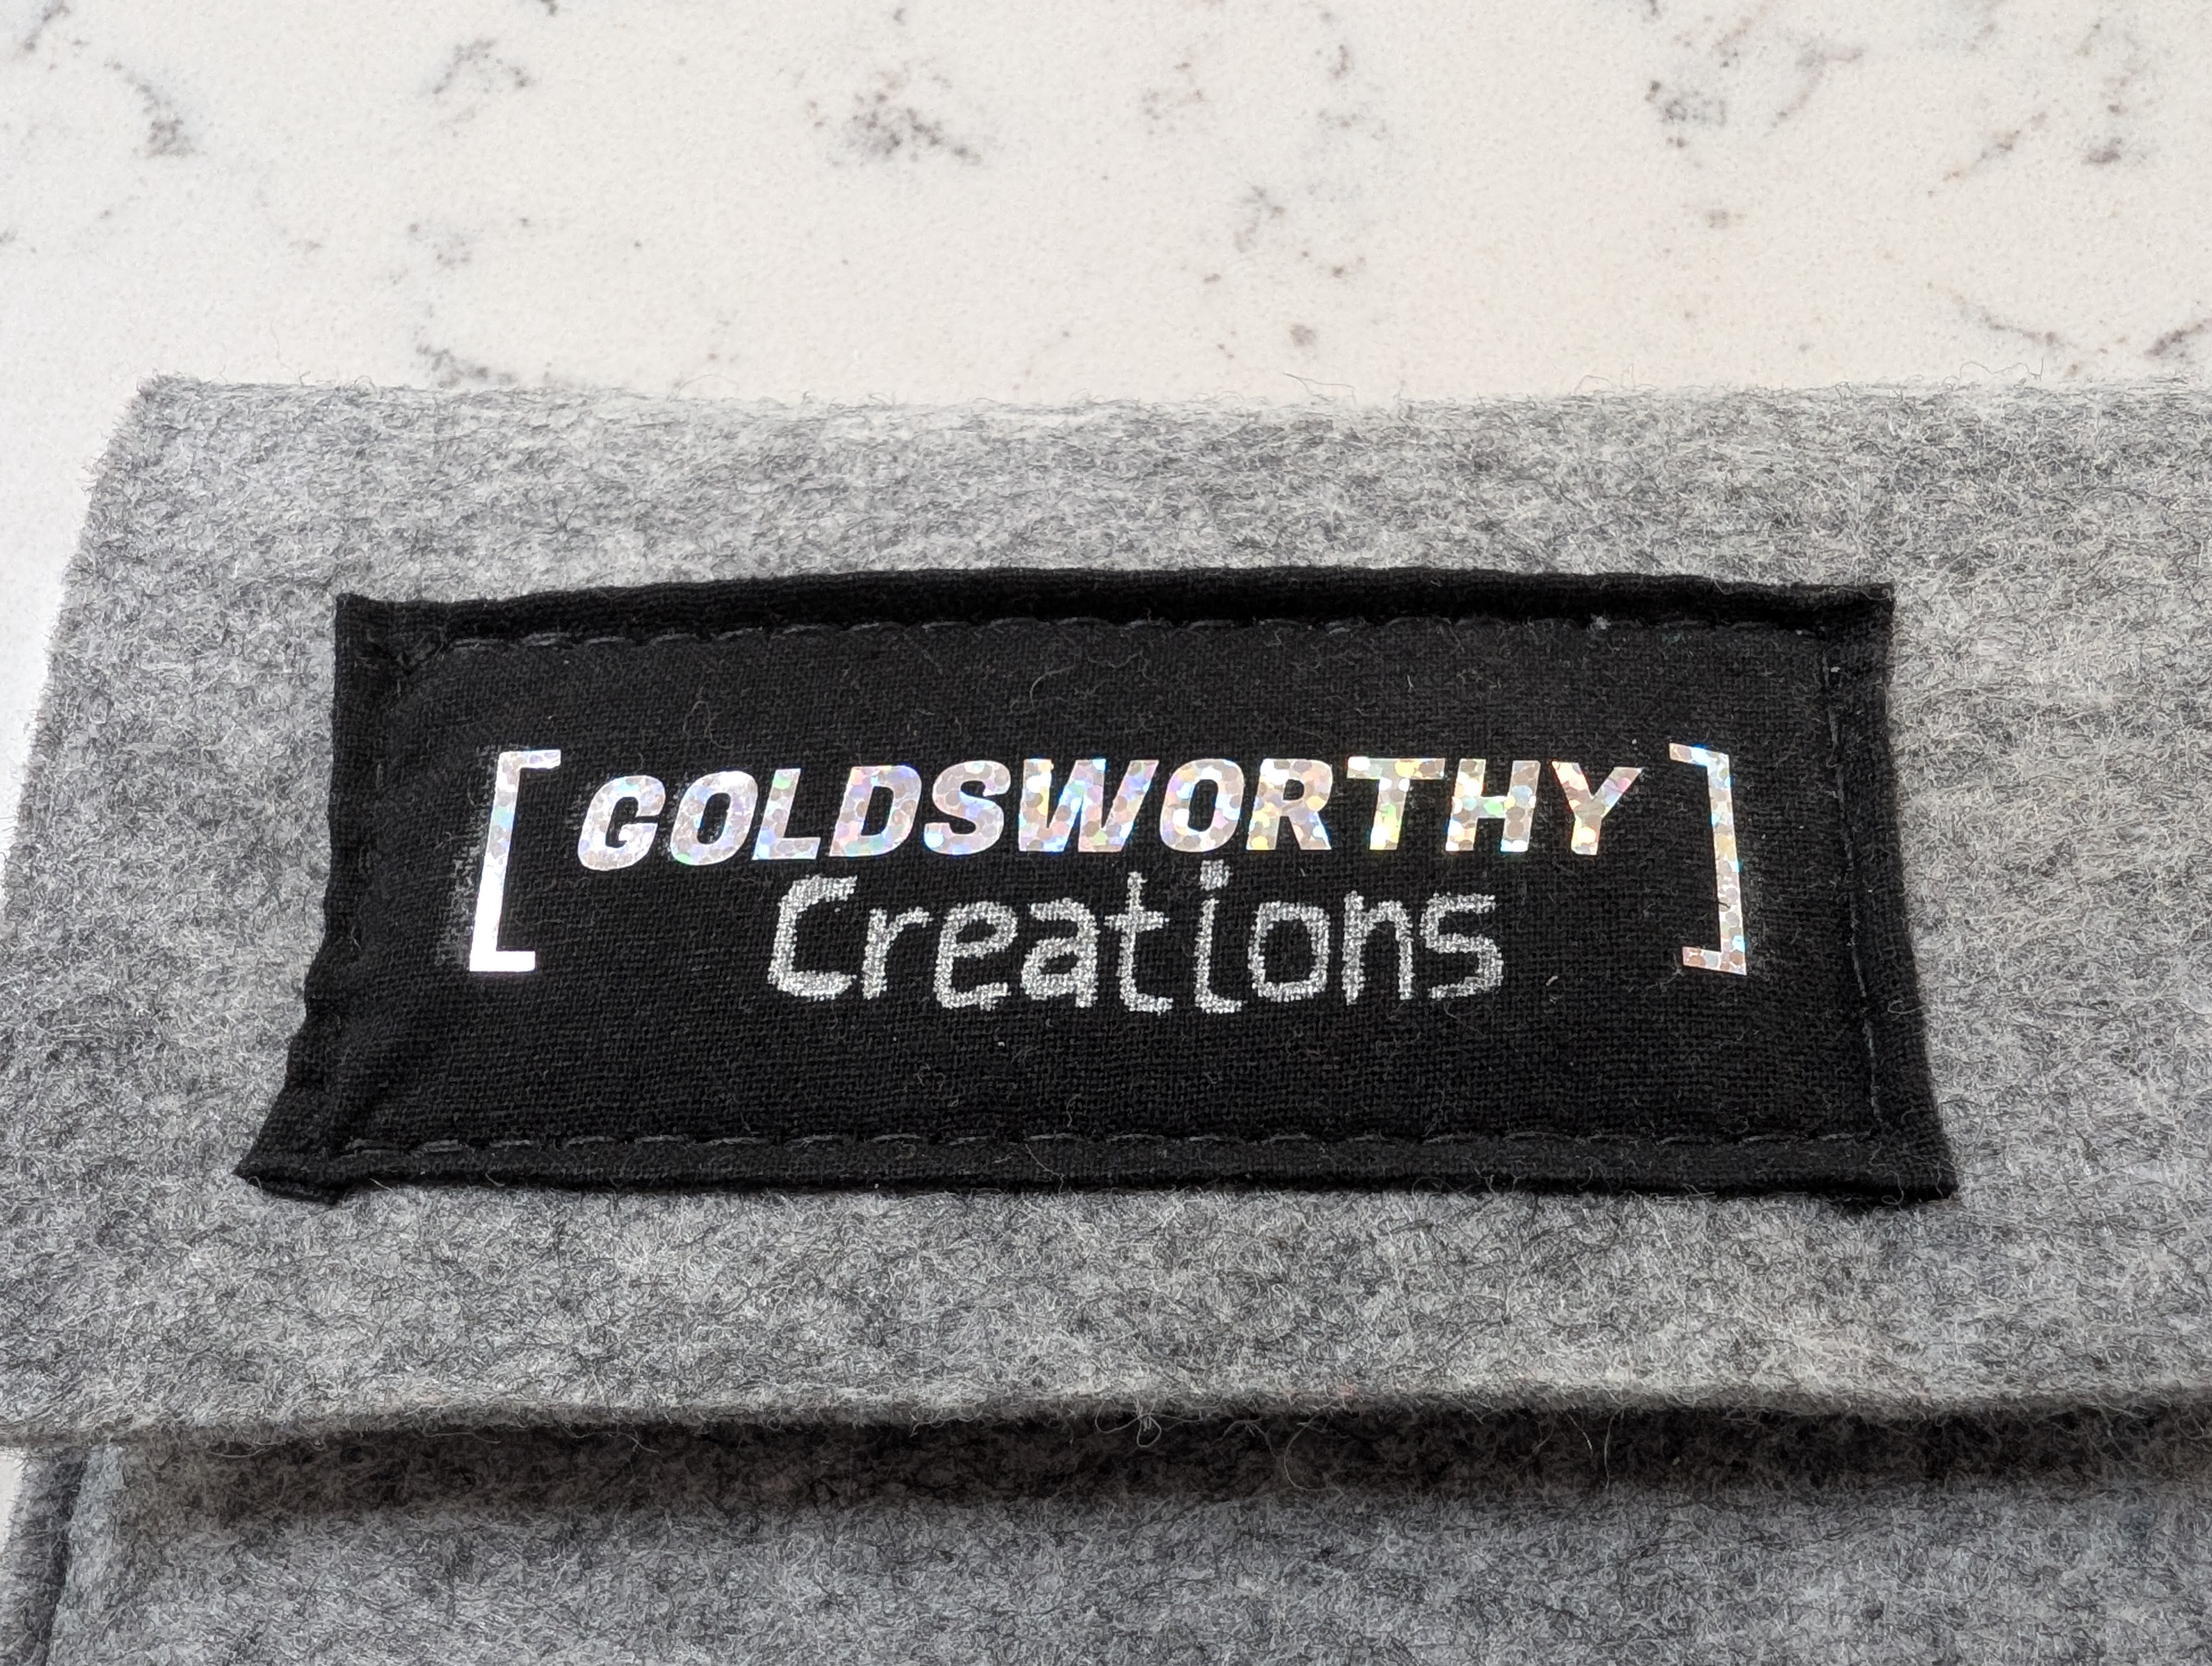
The Goldsworthy Creations logo uses a combination of iron-on shiny vinyl and silver paint pen.
It is measured specifically for the Framework 13 laptop (13 inches) but has plenty of slack to accommodate something a bit larger.
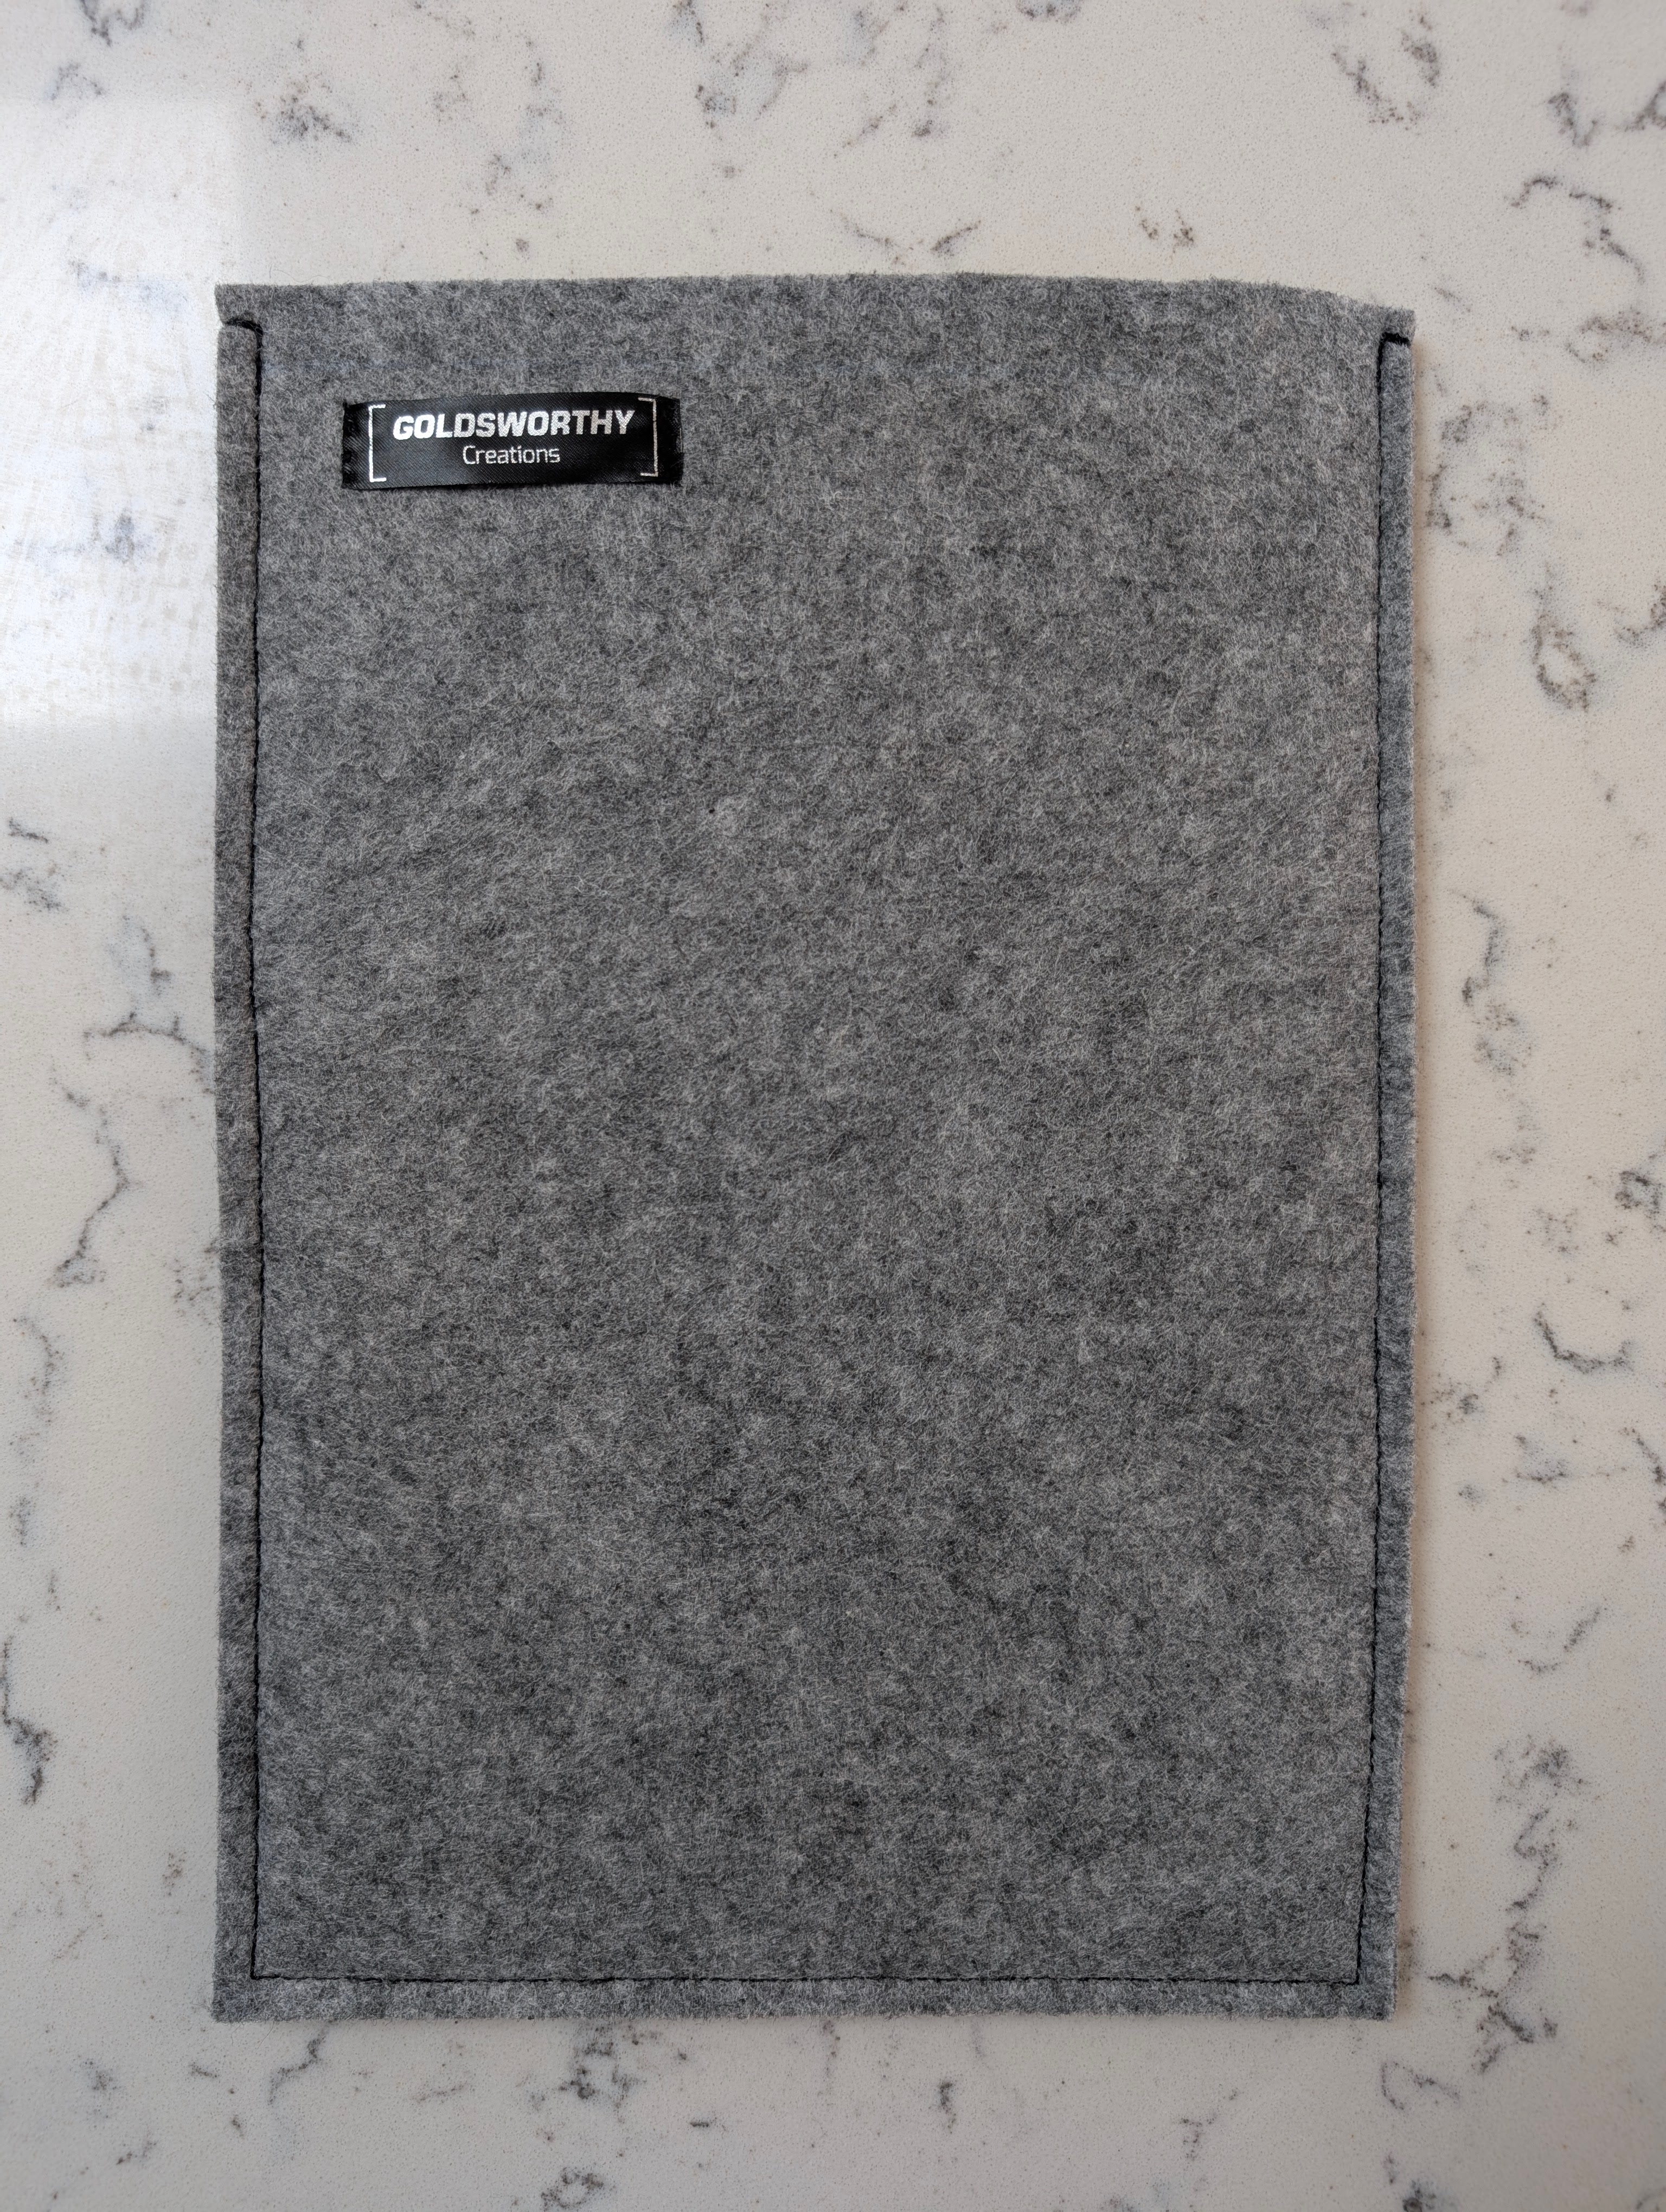
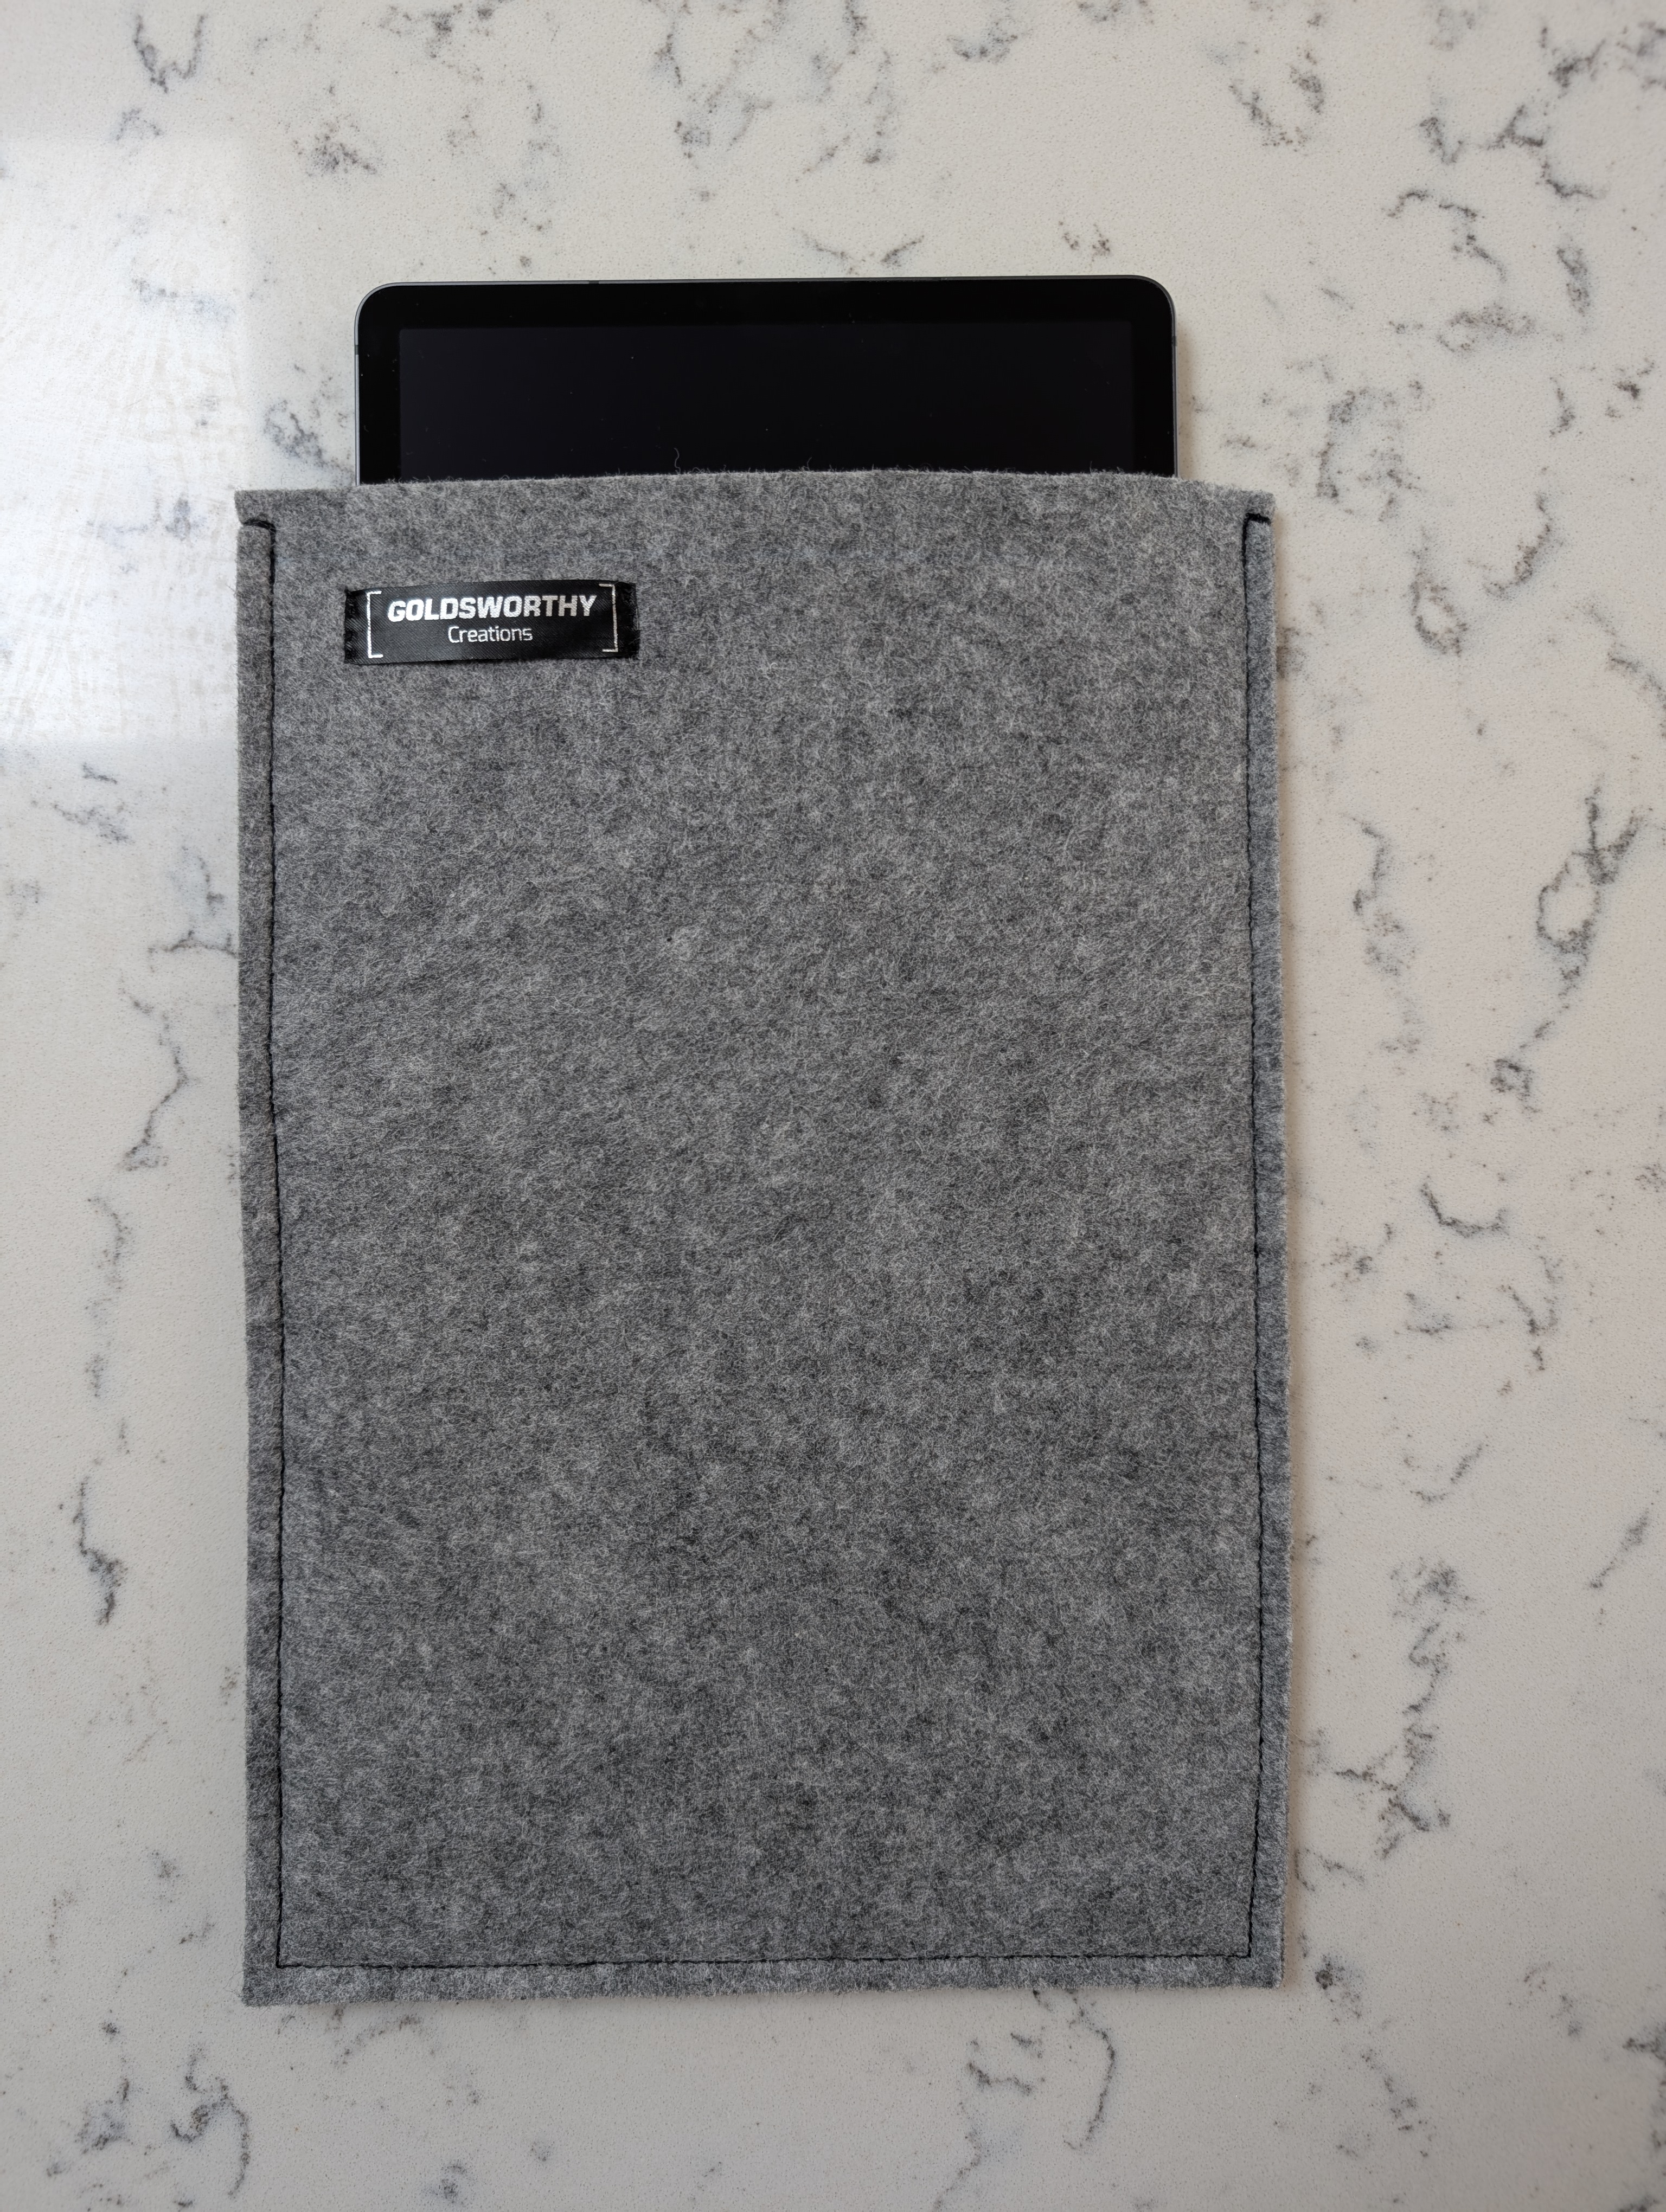
Tablet Sleeve
This was the second item created, I just liked the laptop sleeve so much and for similar use cases, I thought it a good idea to create a matching sleeve for my tablet.
This sleeve is oversized for the tablet for 2 reasons:
- It does not have a flap (the thinner profile is a better fit in this case) so additional room means the tablet can move about with more travel distance before being exposed.
- It allows for accommodating larger tablets in the future.
A very simple construction, the only embellishment is the standard Goldsworthy Creations logo sewn into the top corner (placed to match the laptop sleeve’s placement of the same).
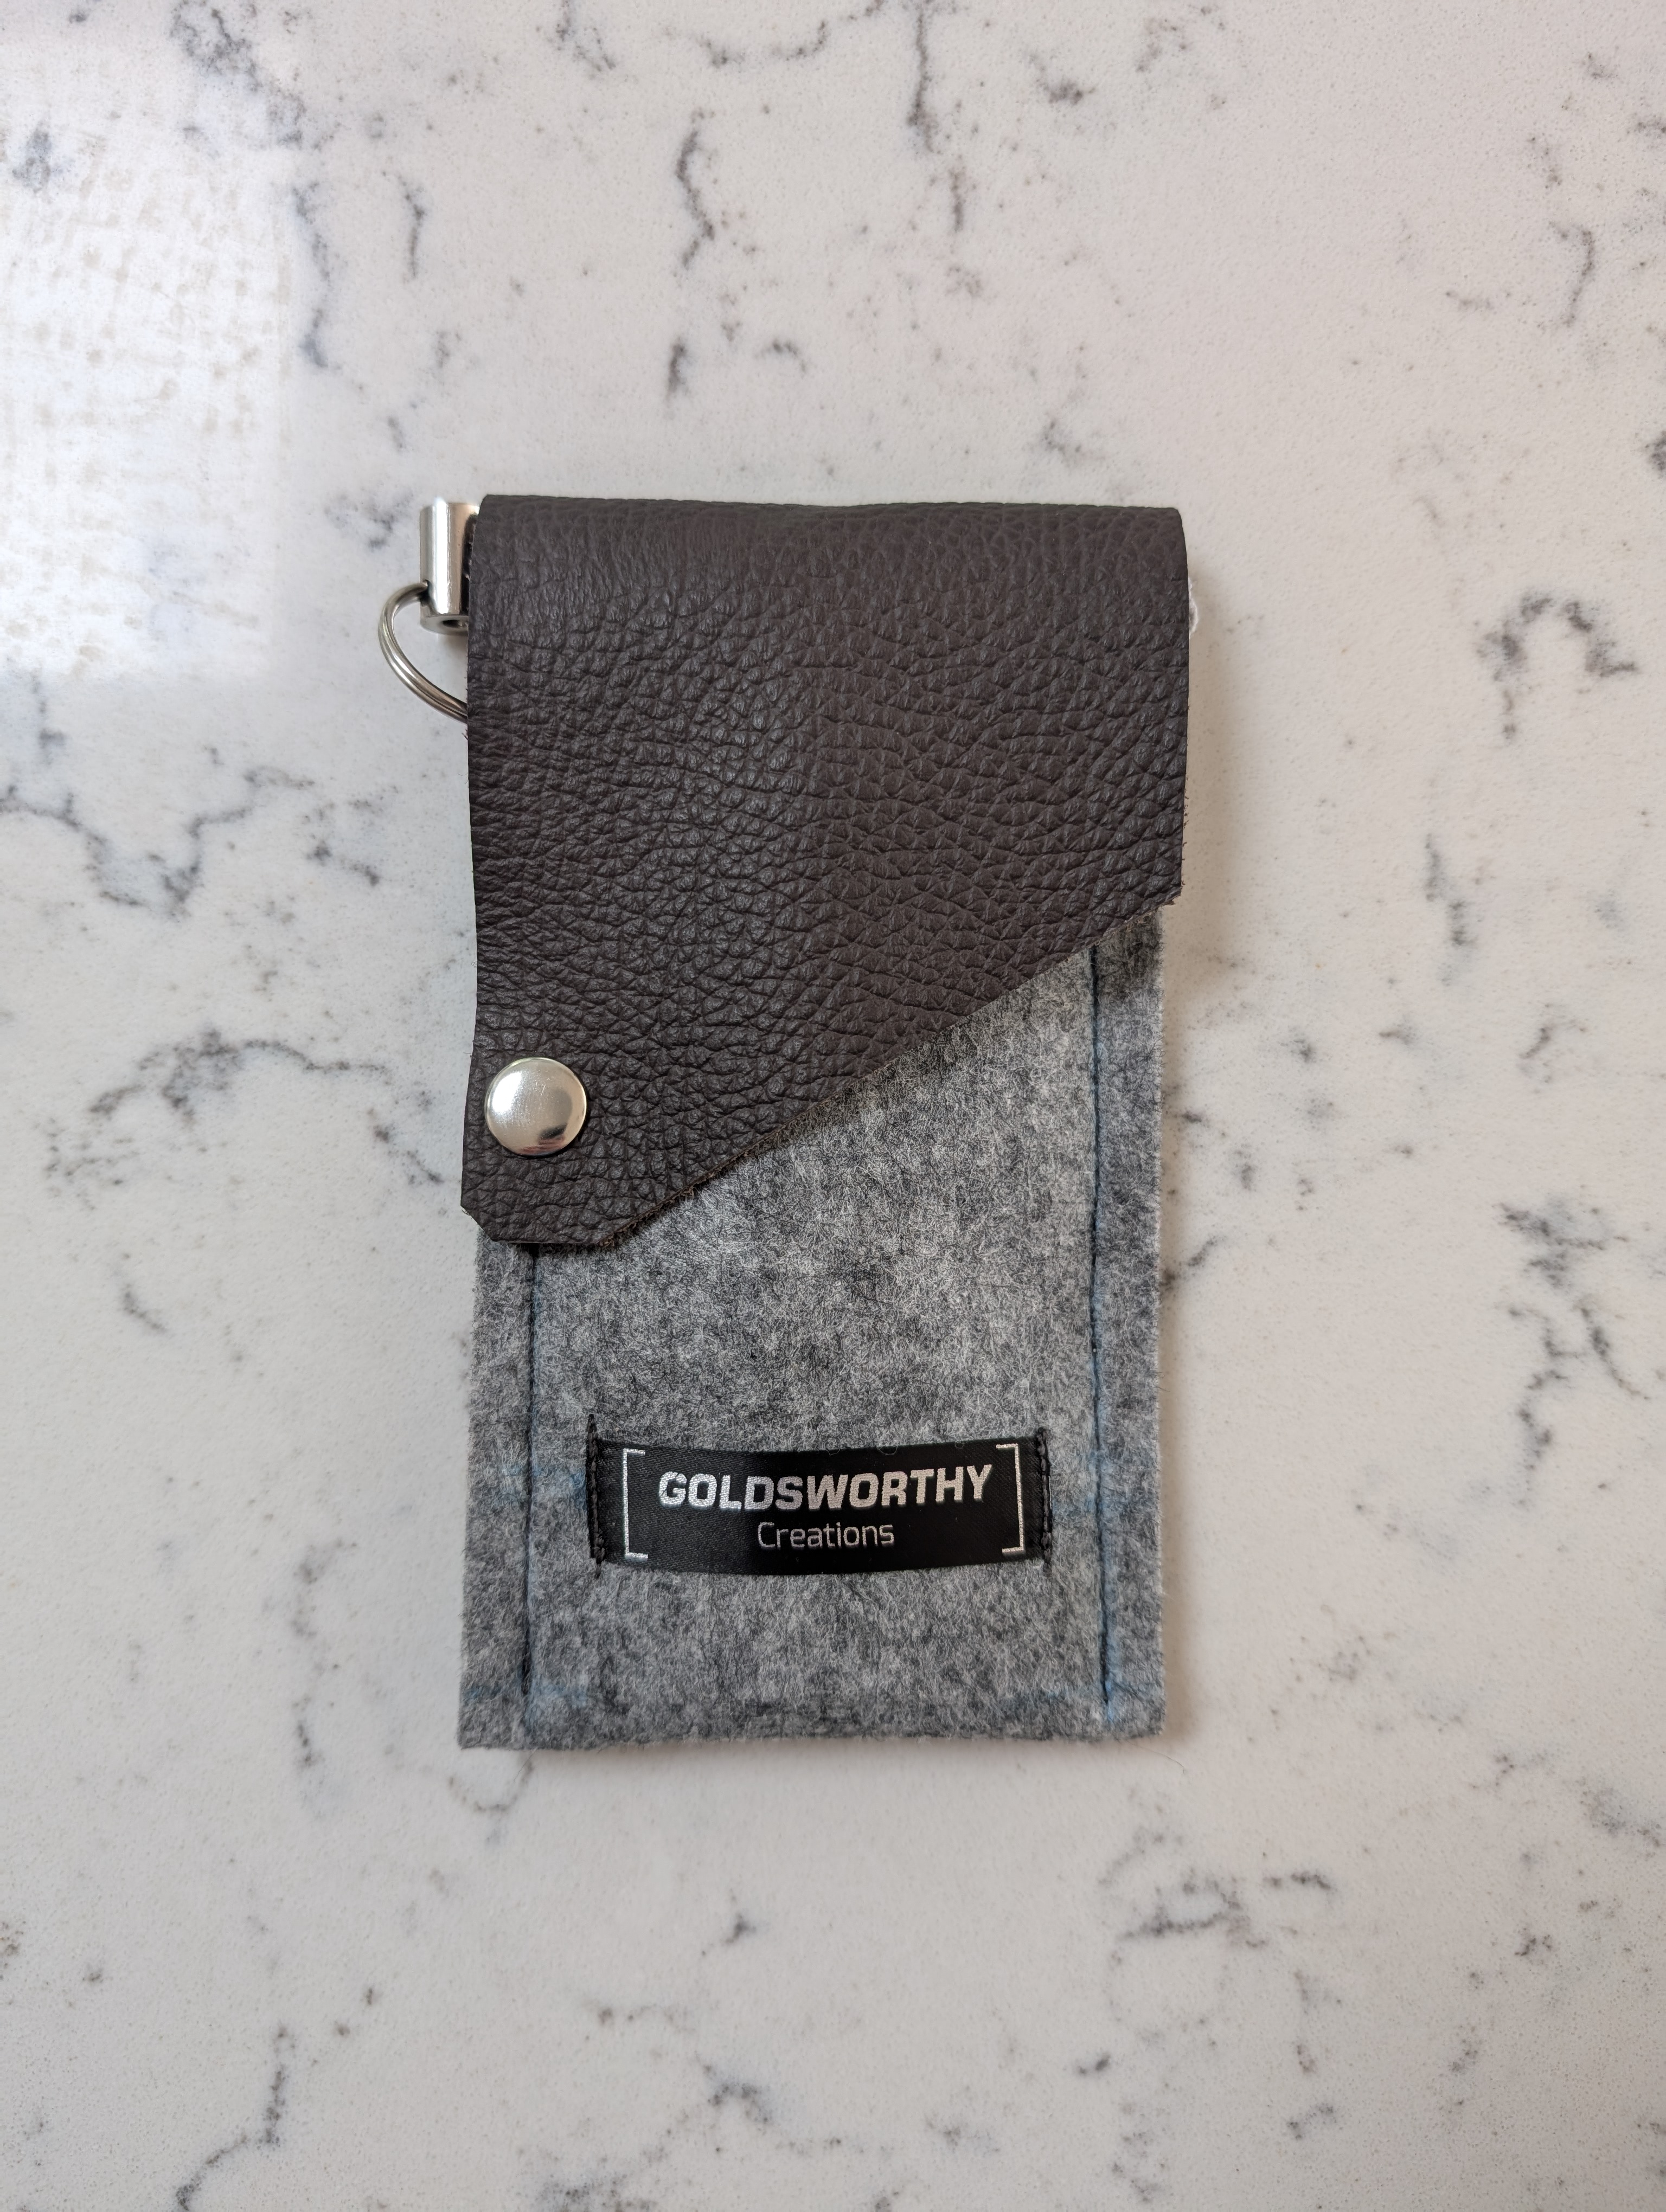
Sunglasses Case
The 3rd piece created, it actually uses the remaining felt from the tablet sleeve. My previous sunglasses case was deteriorating and a replacement was required. I wasn’t originally intending to create one but after a little bit of shopping, I found one that sparked inspiration.
This was ALL of the leftovers, meaning a very refined design that made efficient use of the material.
Like the laptop sleeve, this was a fair bit of work to construct and MANY measurements were taken before a single cut was made.
- MEASURE
- Sew on the label
- Place the stud portion of the press stud
- Sew up the sides 1. Unlike the previous2 sleeves, this does not use 2 flat sheets of felt, but a single long one folded at the bottom 2. The top piece of felt is in fact angled inwards very slightly such that it bows outwards
- Cut off the margins on the sides
- MEASURE and cut the leather to the correct width
- Sew the leather to the felt 1. I found PVA glue to be helpful in preventing movement between the 2 pieces given the very small overlap and lack of margins
- MEASURE the placement of the other half of the press stud, then insert
- Trim off the length and corner of the leather 1. The length of the leather is important here. It needs to extend sufficiently beyond the press stud to act as something to grip when opening.
- Place a 2-part eyelet into the top left corner of the felt, just below the leather 1. the 2-part eyelet looks much nicer than a single-part which splits the metal and leaves an unfinished look
Unlike the other sleeves, this one is poorly suited for different-sized sunglasses. This is in part because I wanted it a particularly slim and reduced footprint, and in part because I only had so much leftover felt to work with.
I chose to use a press stud instead of a magnet for both the security of the connection (the leather is heavy and could easily shift, detaching a magnetic hold) and space constraints (magnets need pockets).
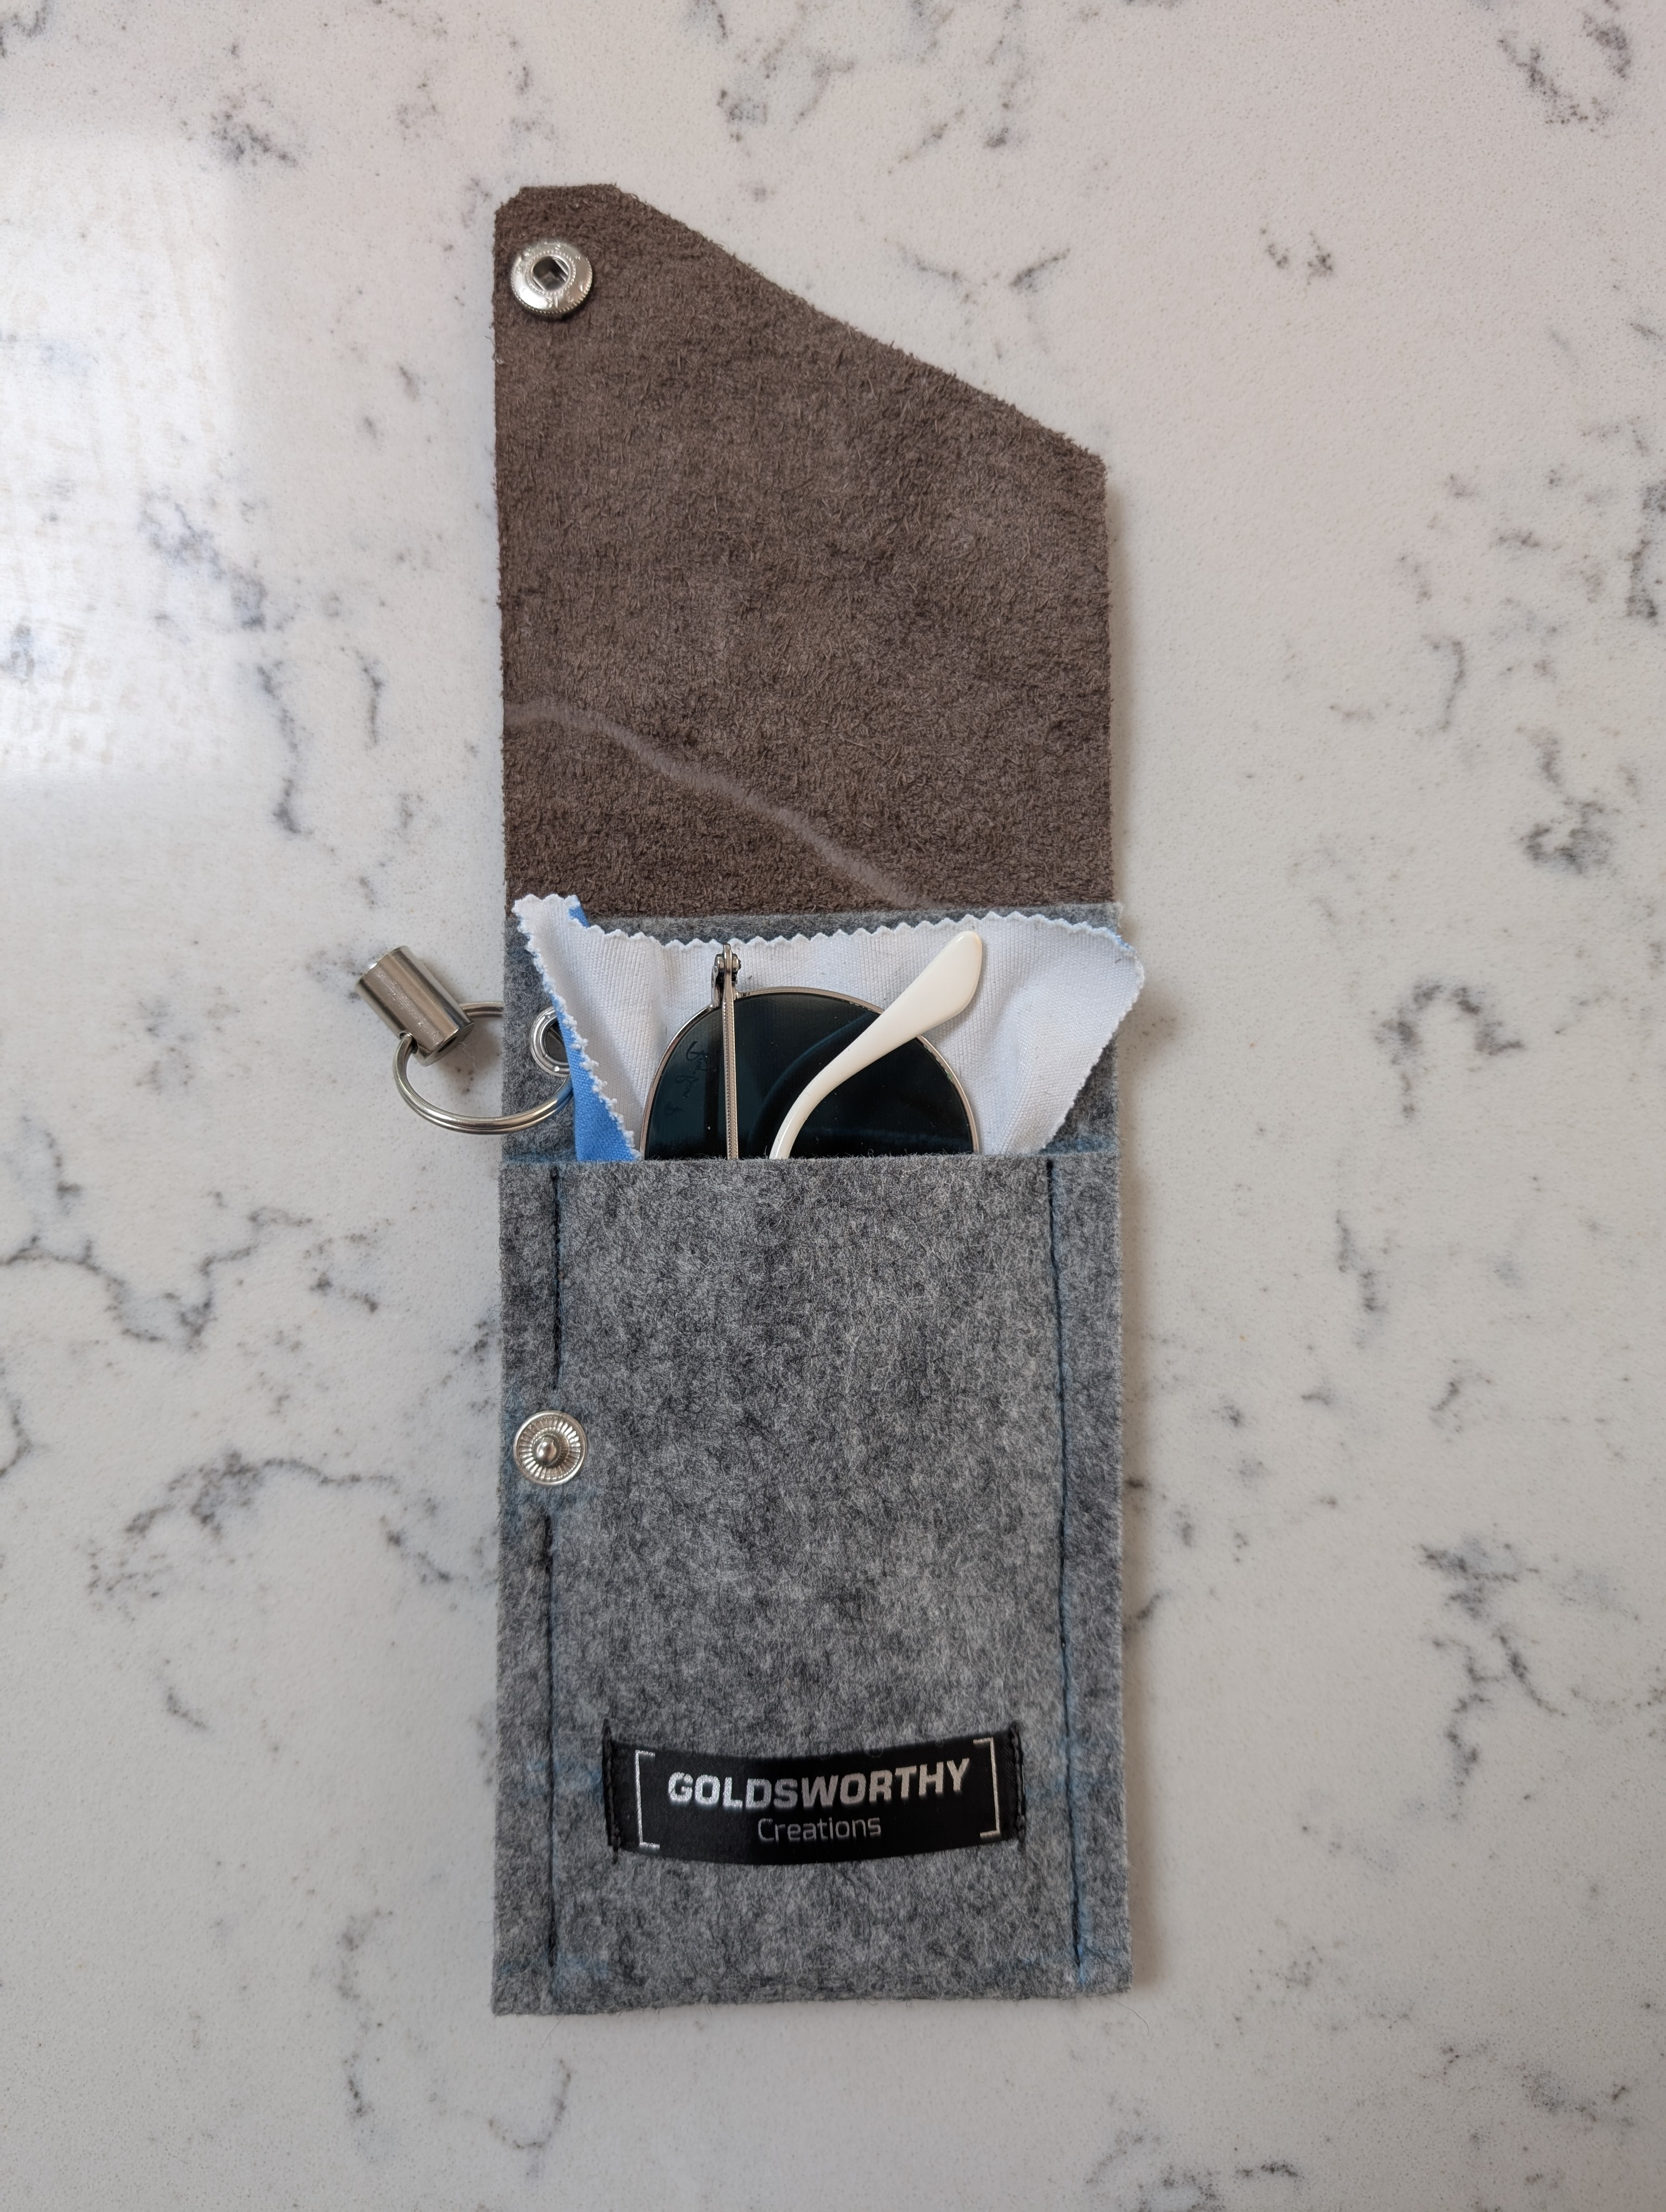
In the photos, you can see faint blue lines along the stitching. This is the vestiges of tailors chalk used to mark the sewing lines. This will fade in time but I have not rubbed it off yet because it’s an interesting look that matches the blue of both the cleaning cloth and the sunglasses themselves.
Also of note is the cleaning cloth. The original design had a large gap in the bottom where the folded felt is. This is where the cloth would sit. I didn’t want the sunglasses to rub up against the felt as it’s not particularly ‘soft’, so I was going to sew in a second cleaning cloth as a protective layer. In the end, I sized the case such that the cloth could be pushed in by the glasses, but easily removed. This reduced material cost (only a single cloth), reduced bulk, increased internal space, and made the protective layer removable for washing.
Other works in the set
Gallery